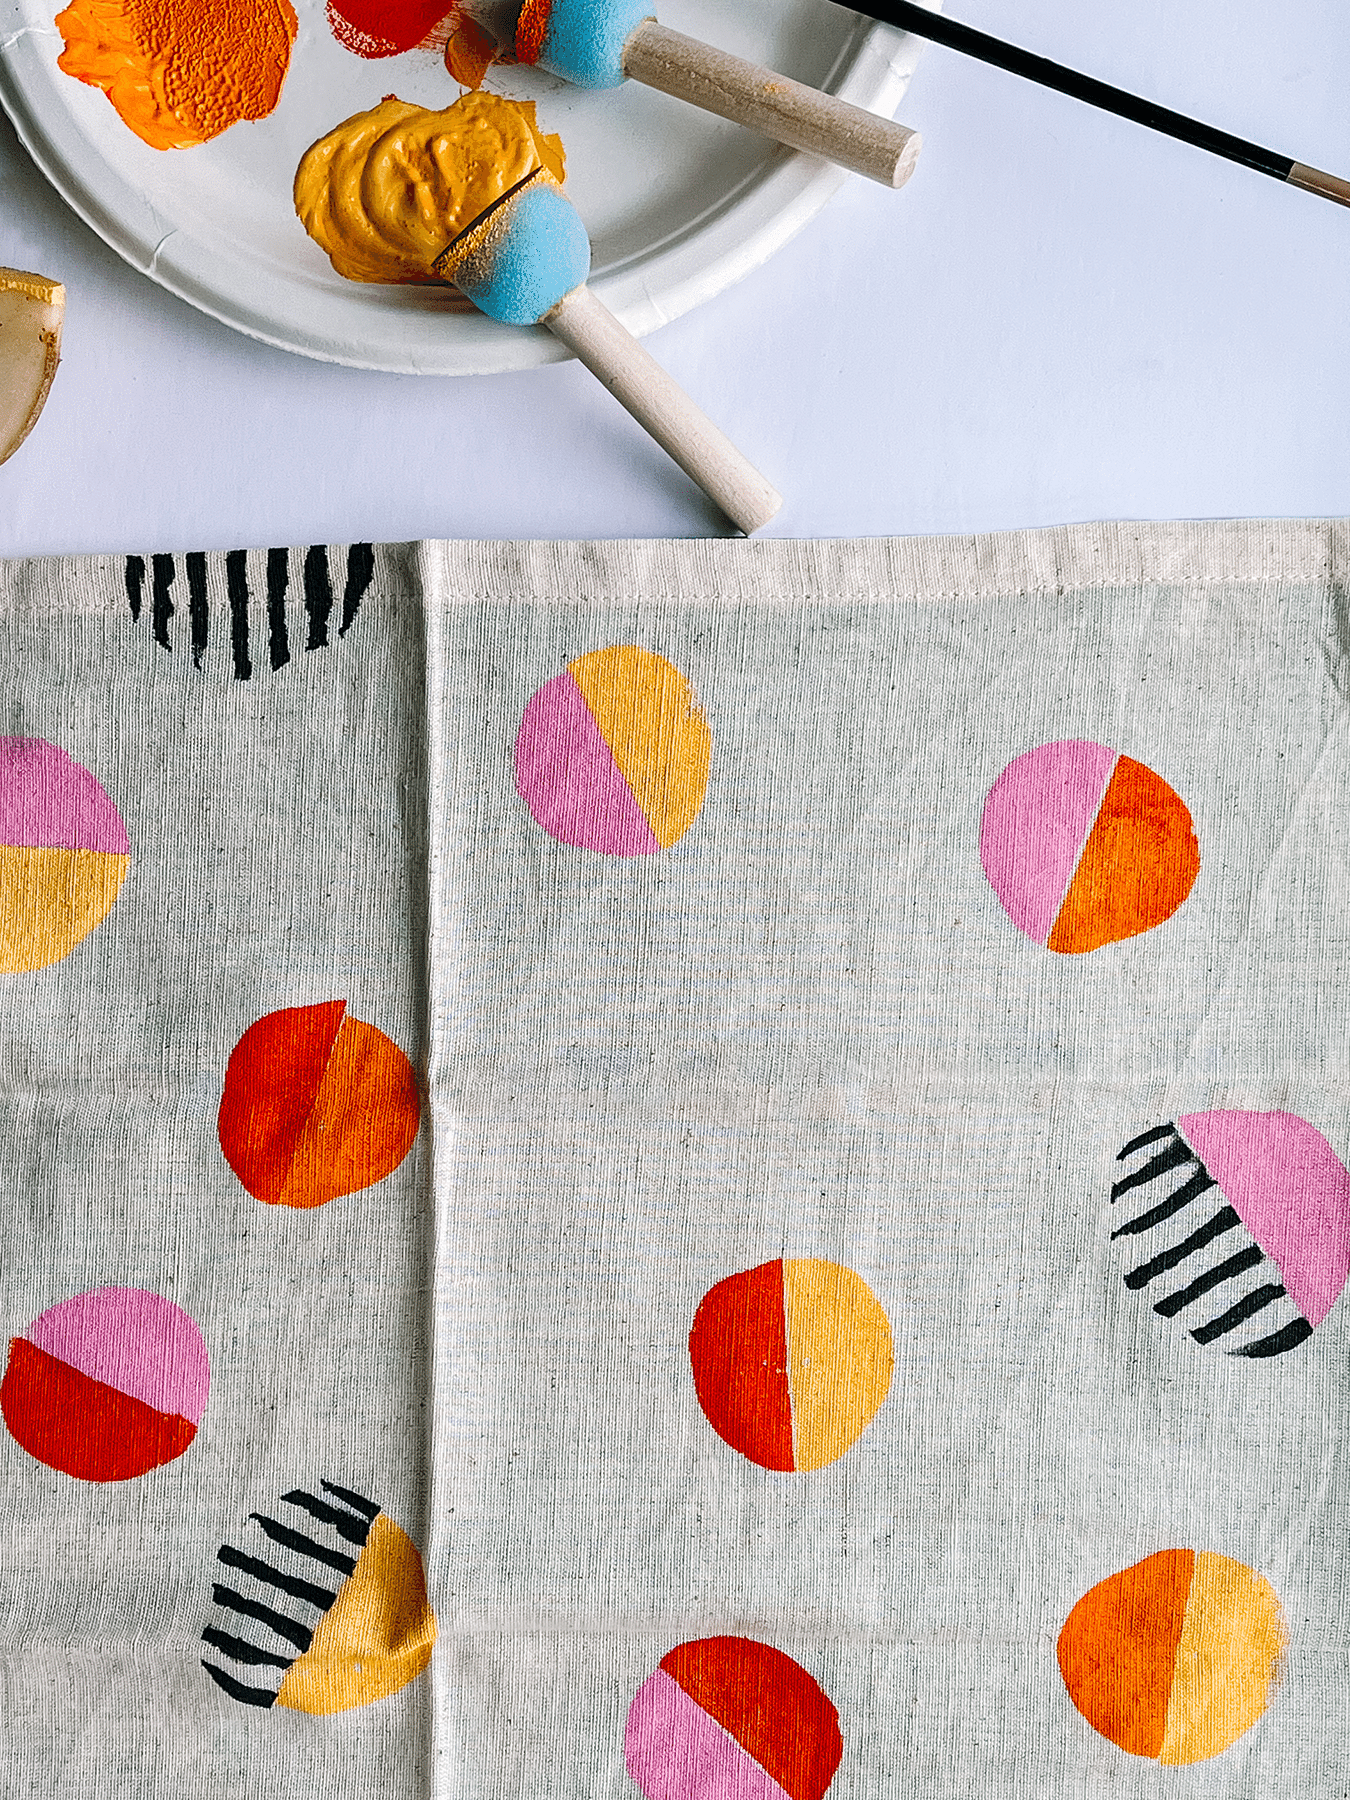
How to Make a Potato Stamp Block Print
As an Amazon Associate I earn from qualifying purchases.
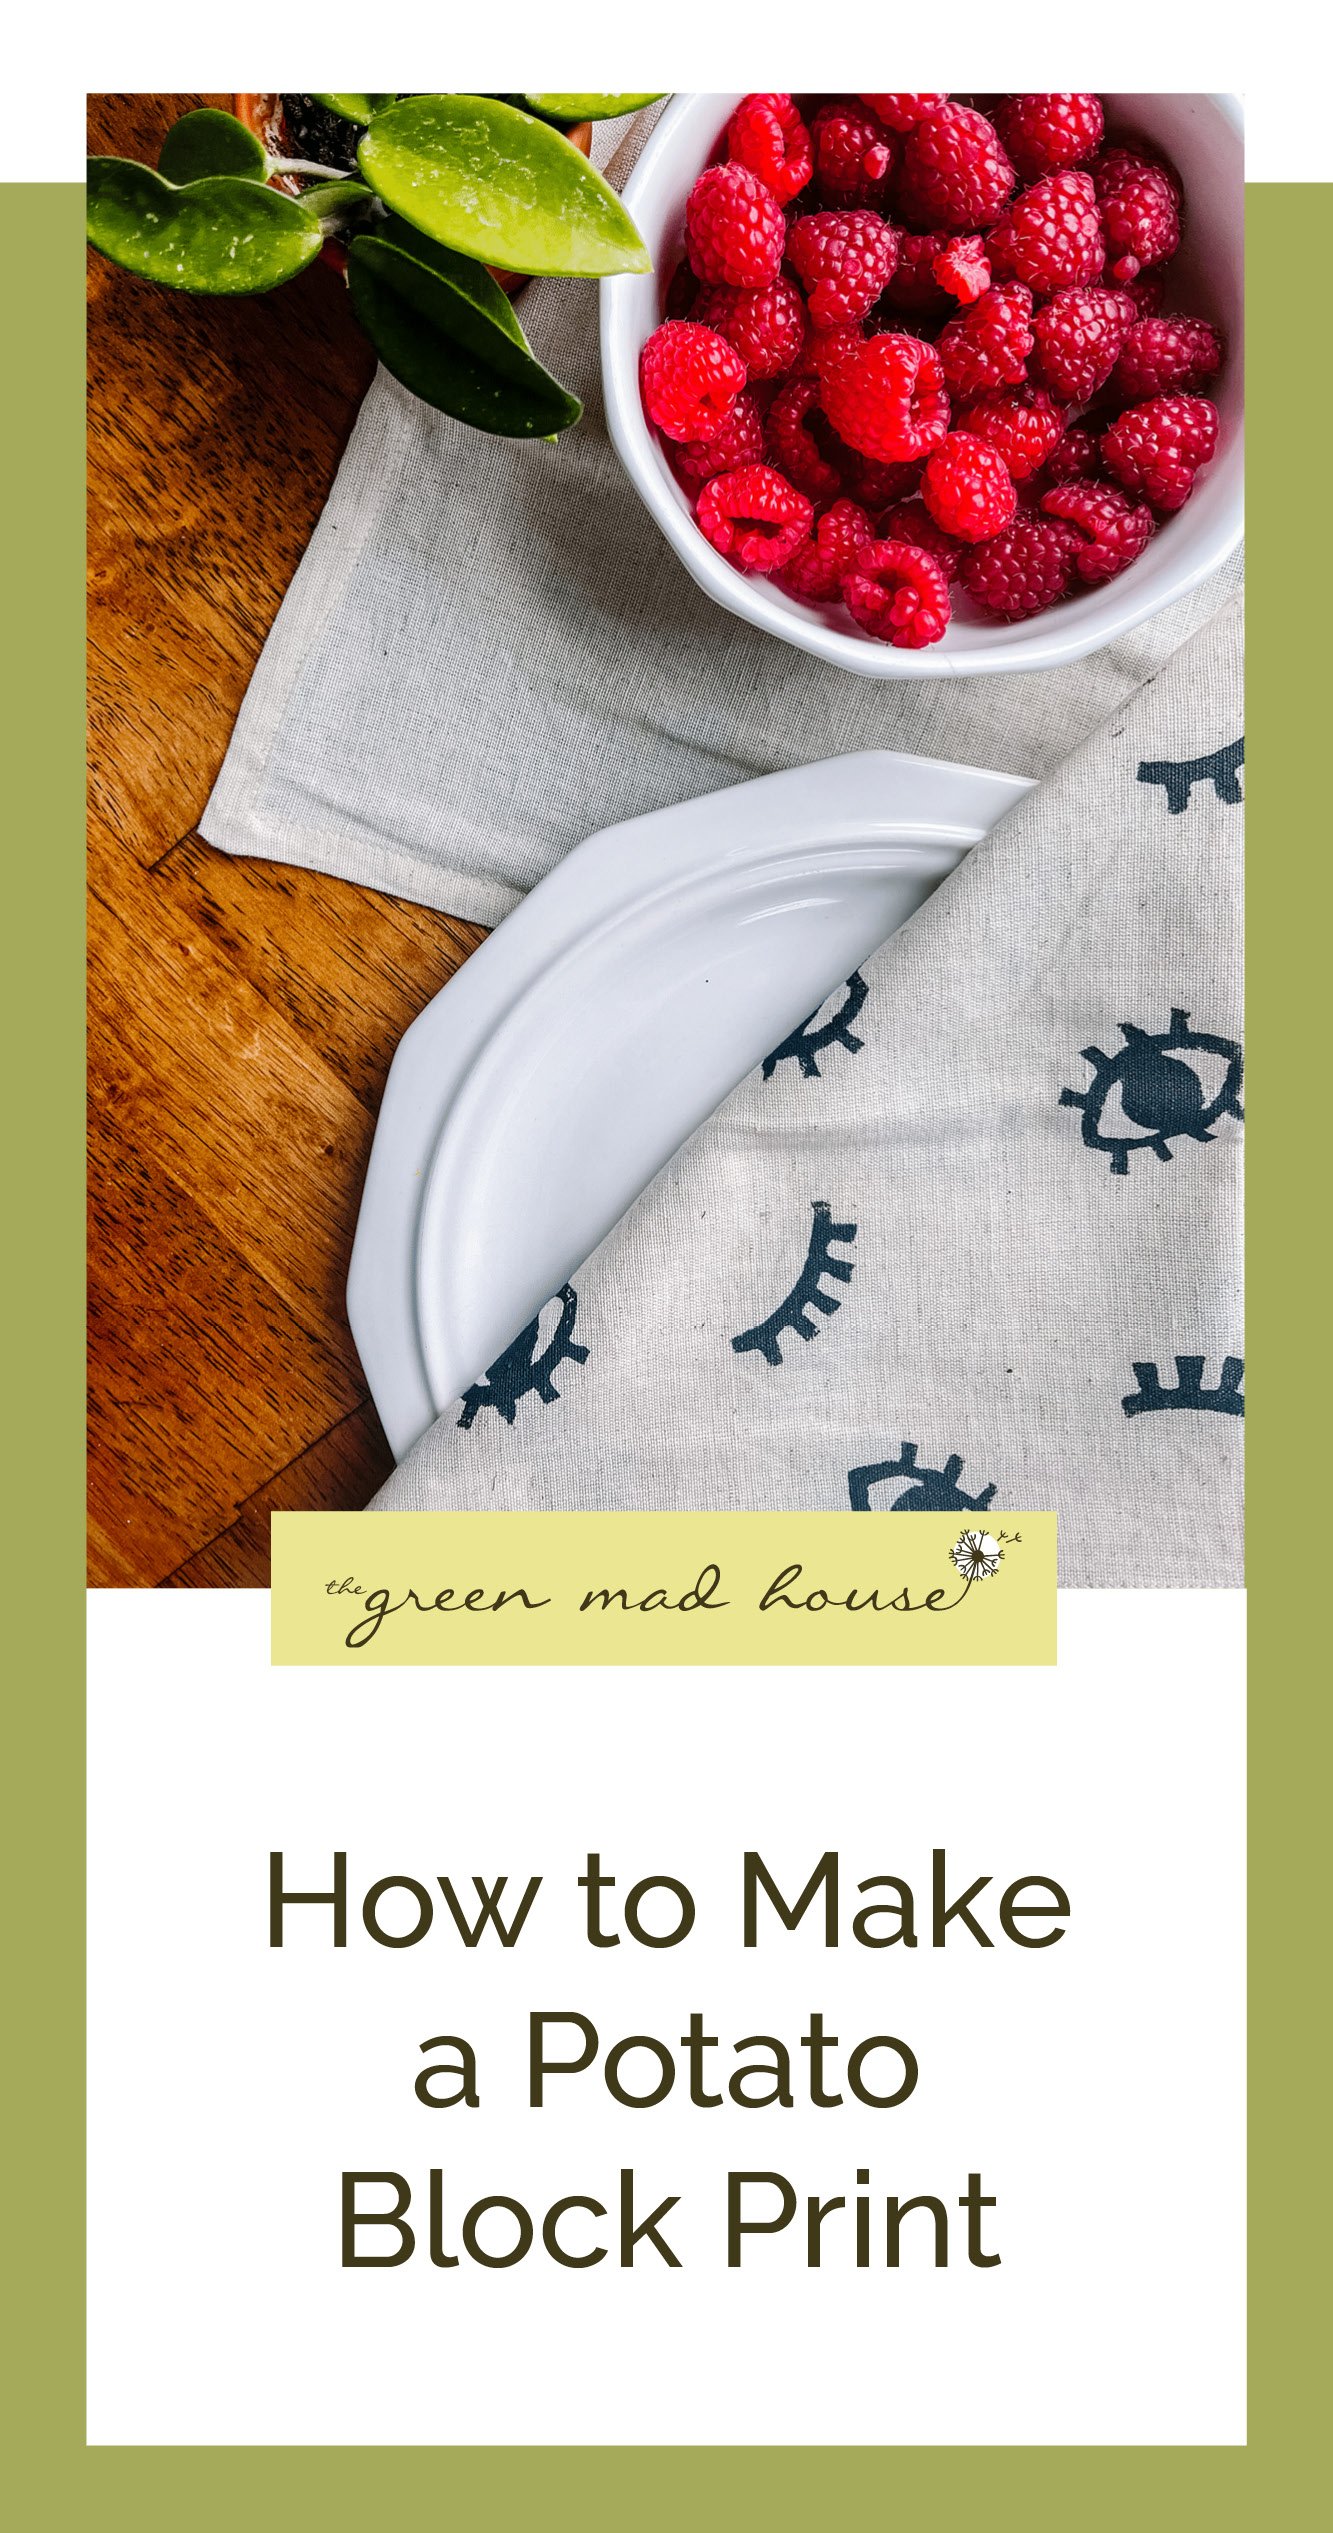
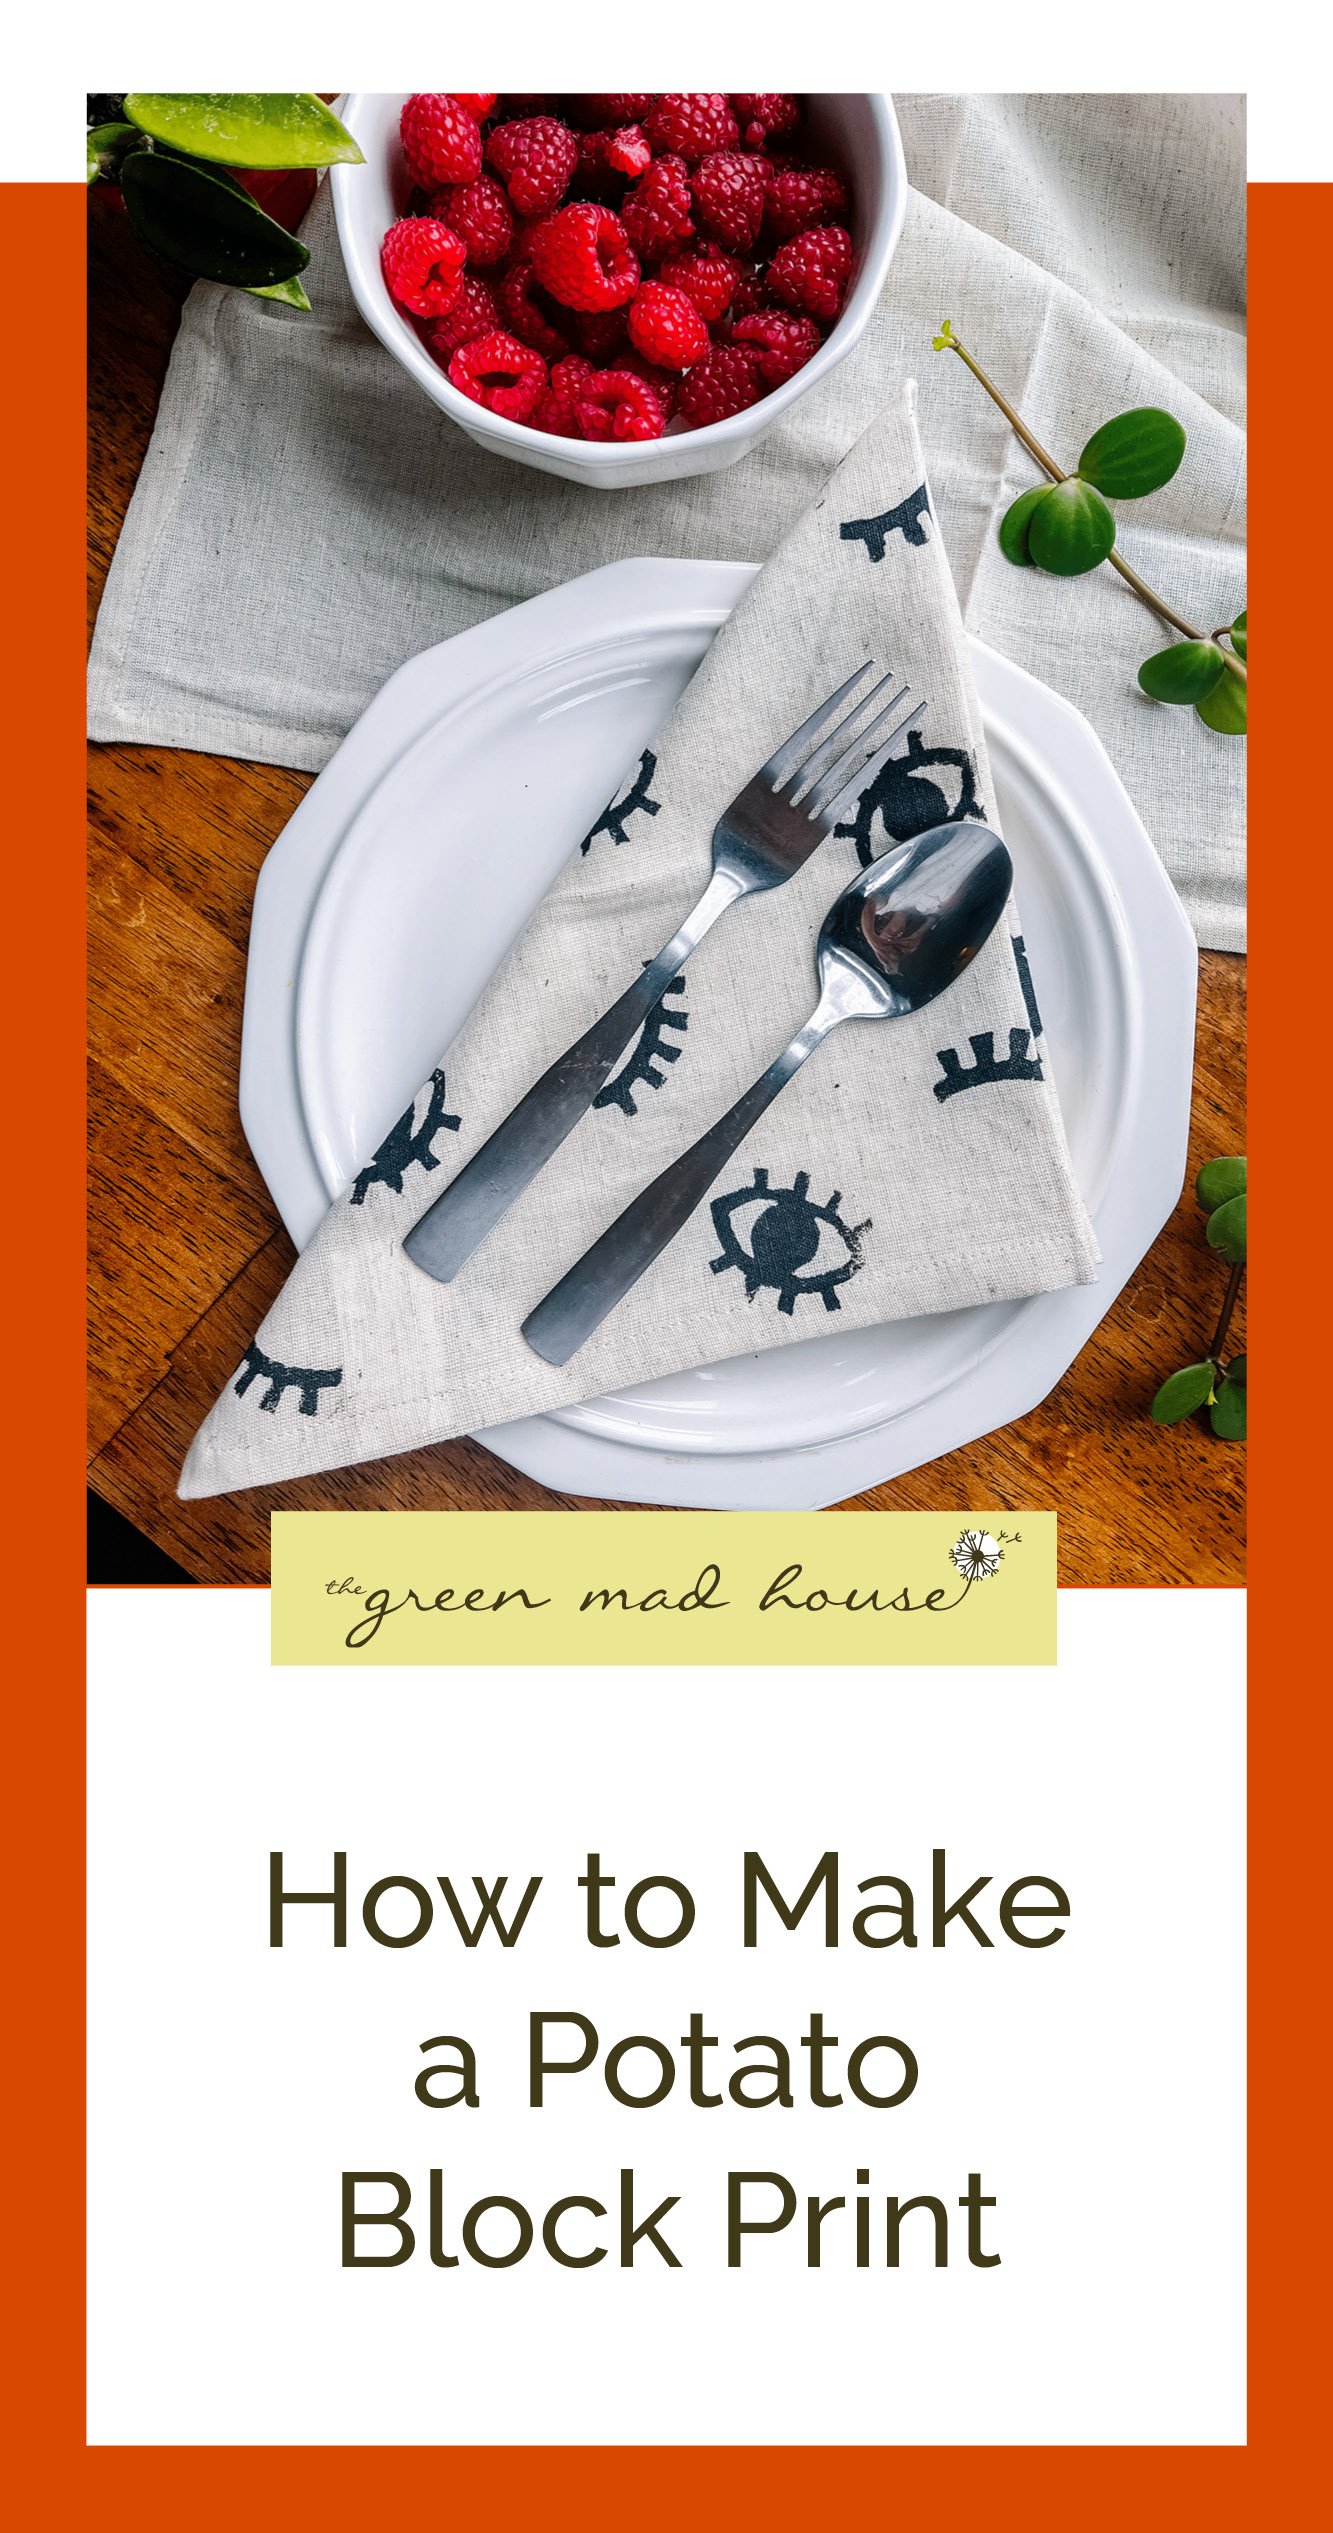
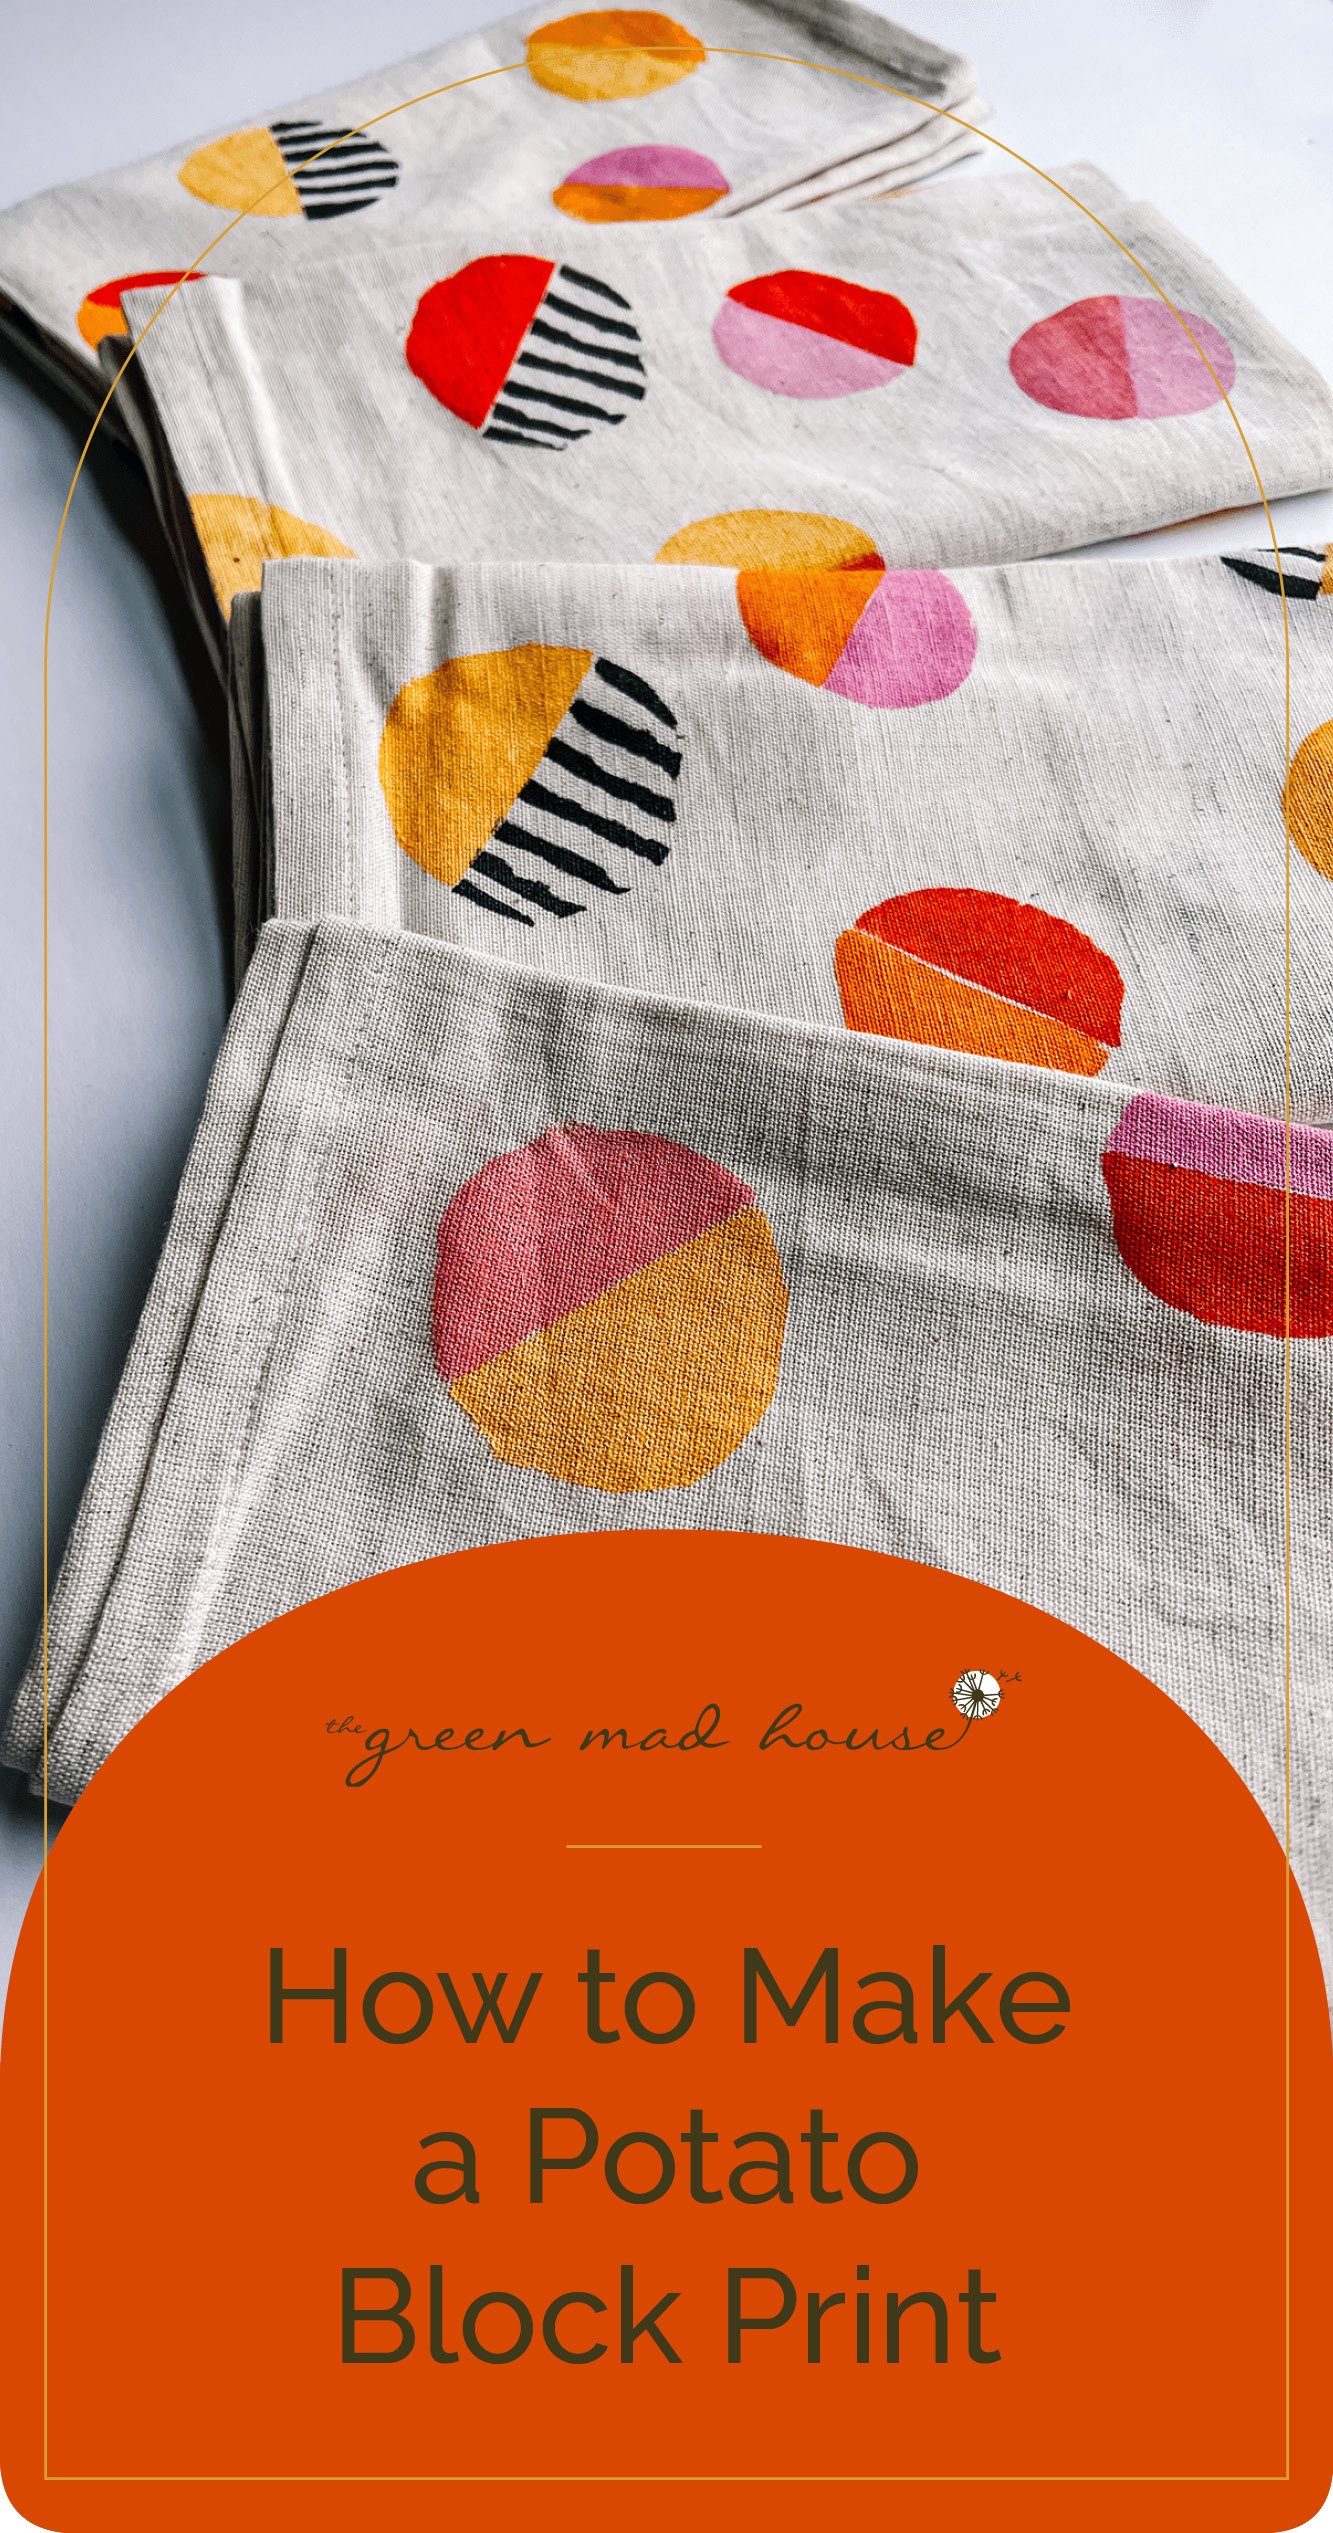
Block printing is the process of carving a stamp out of linoleum, wood, foam, rubber or even potatoes and transferring that image onto paper, textiles and more. This type of printing can be easily repeated to create a pattern or a mass of cards and the results are vibrant and bold. Although you can make more complicated designs, block printing is best used for simple shapes like circles and lines to hearts, suns and leaves. Although, do not be afraid to experiment with more delicate designs. If you fail, it was just a potato! One of the best parts of this DIY is that it is a kid-friendly craft that is cheap and requires few supplies. So let’s dive into the world of block printing with a few potatoes and decorate notecards, napkins, tote bags, wrapping paper and more!
Tips & Tricks
- Your potatoes will not last long. I tried to use mine the next day to continue print making and while that was mostly okay for the half circles, the most precise potato designs became shriveled and soft.
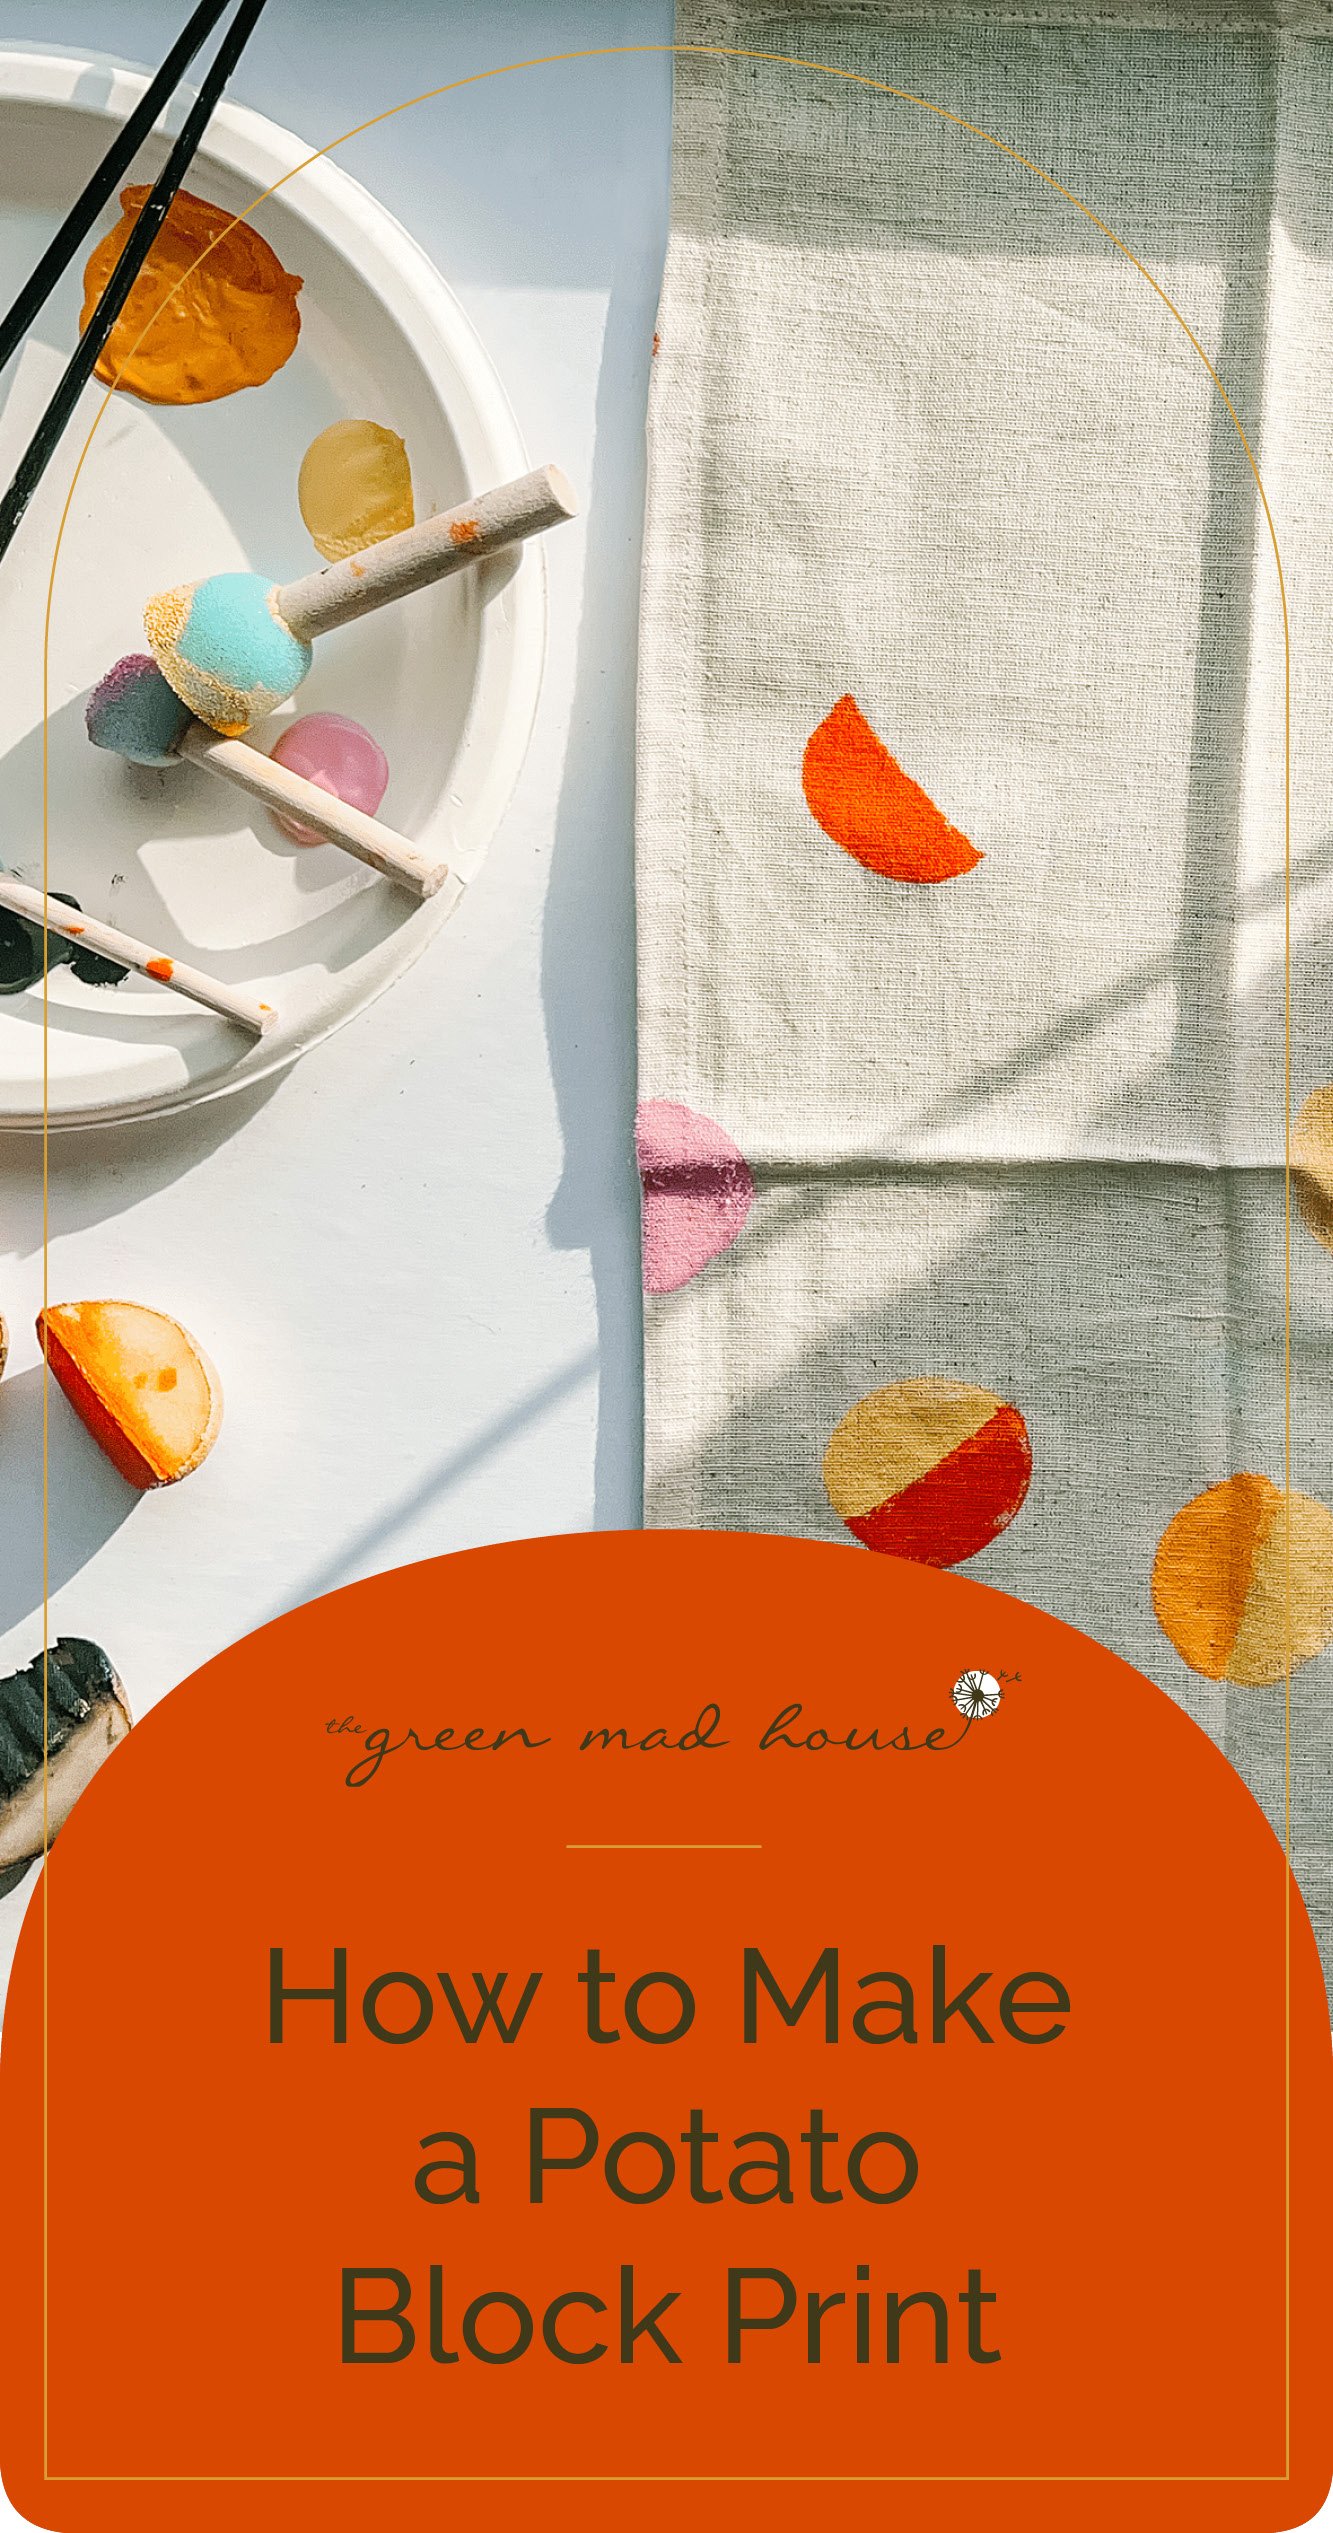
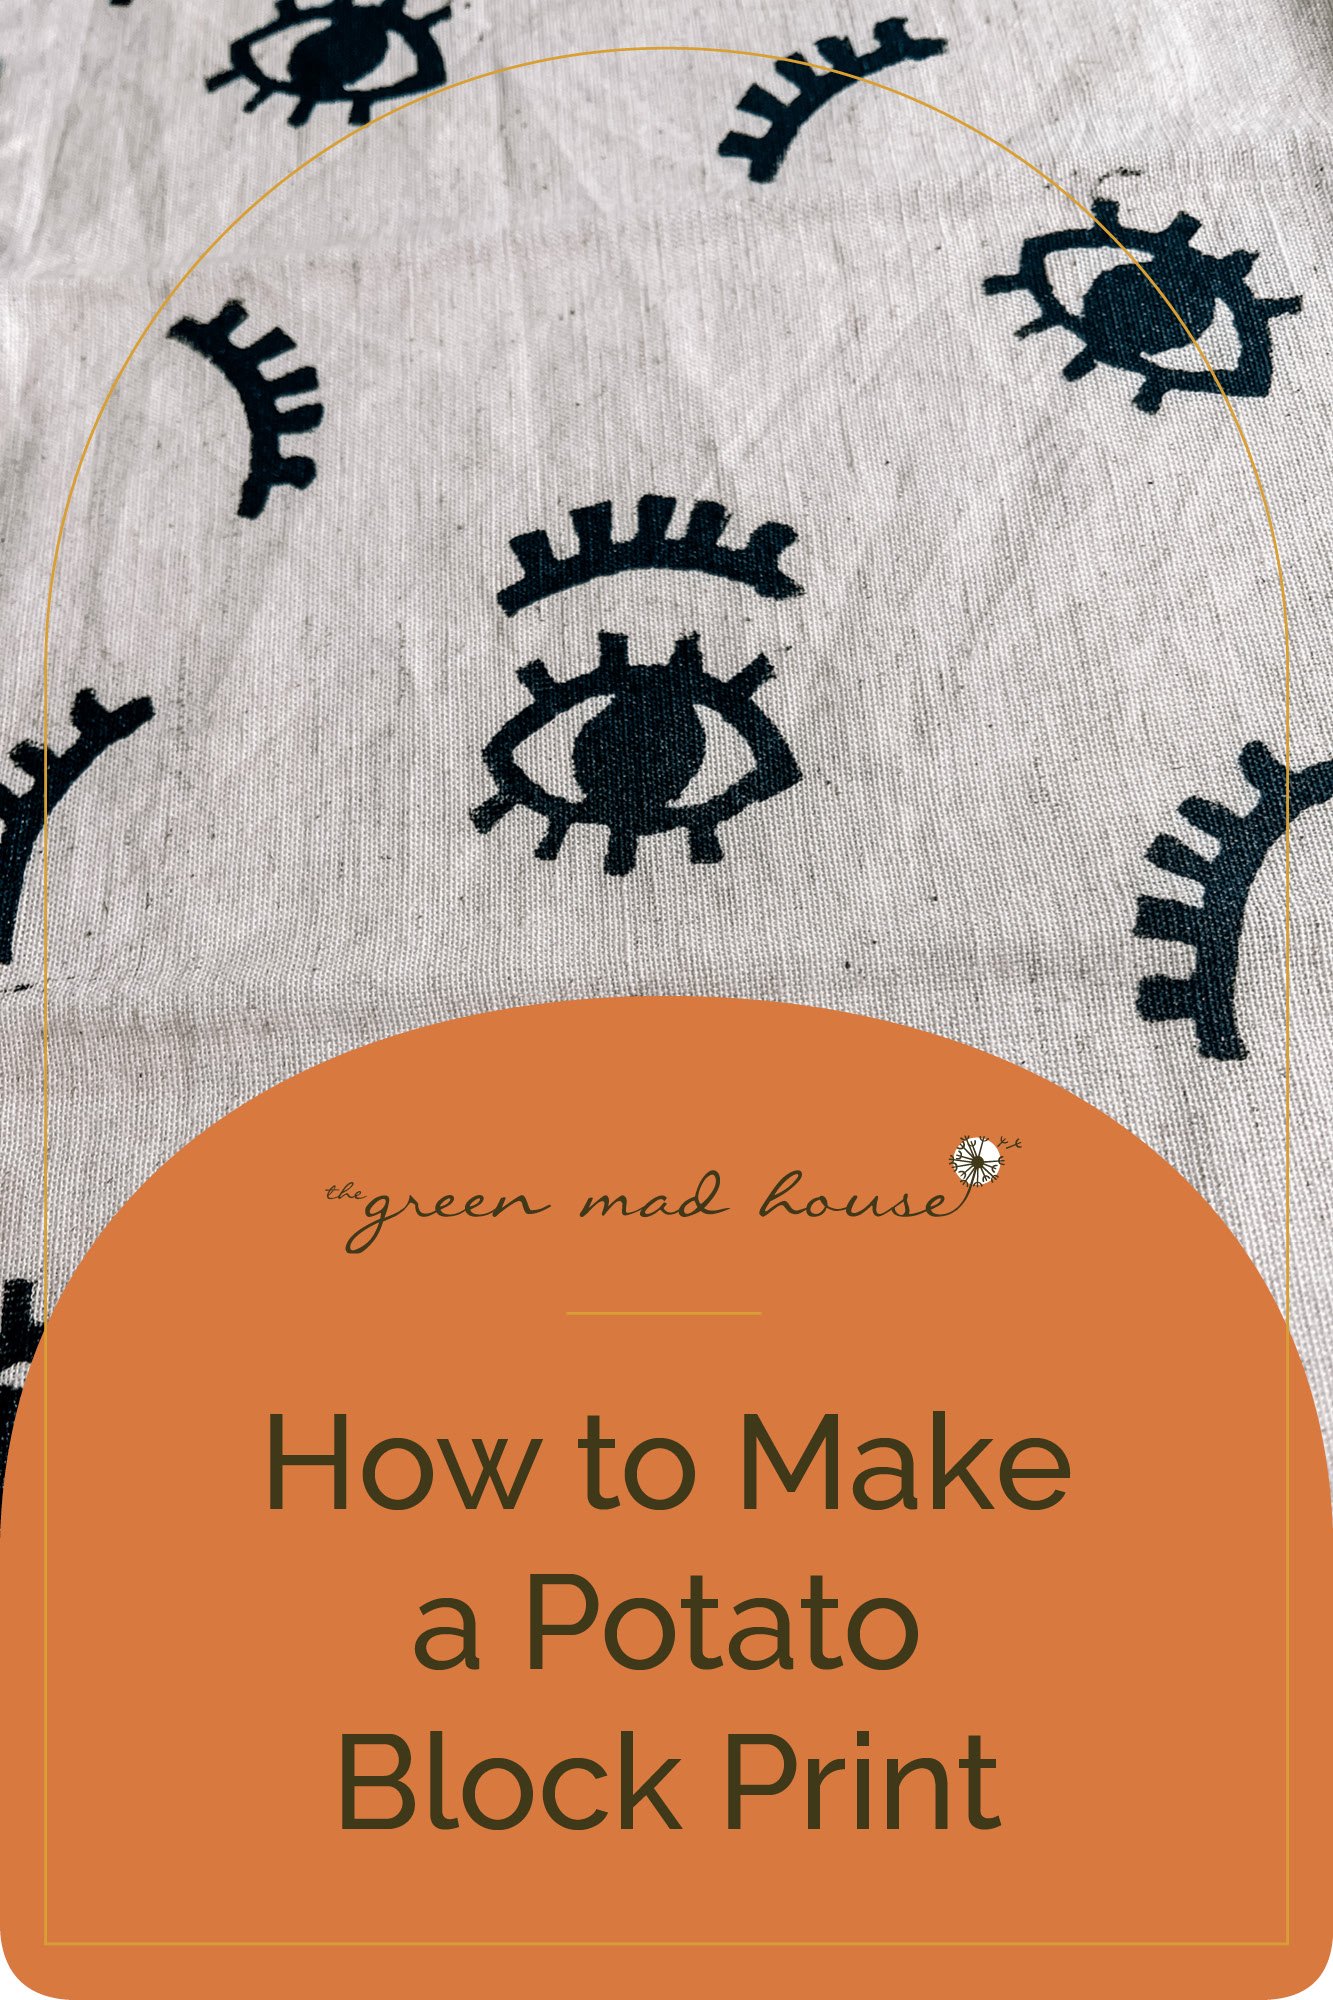
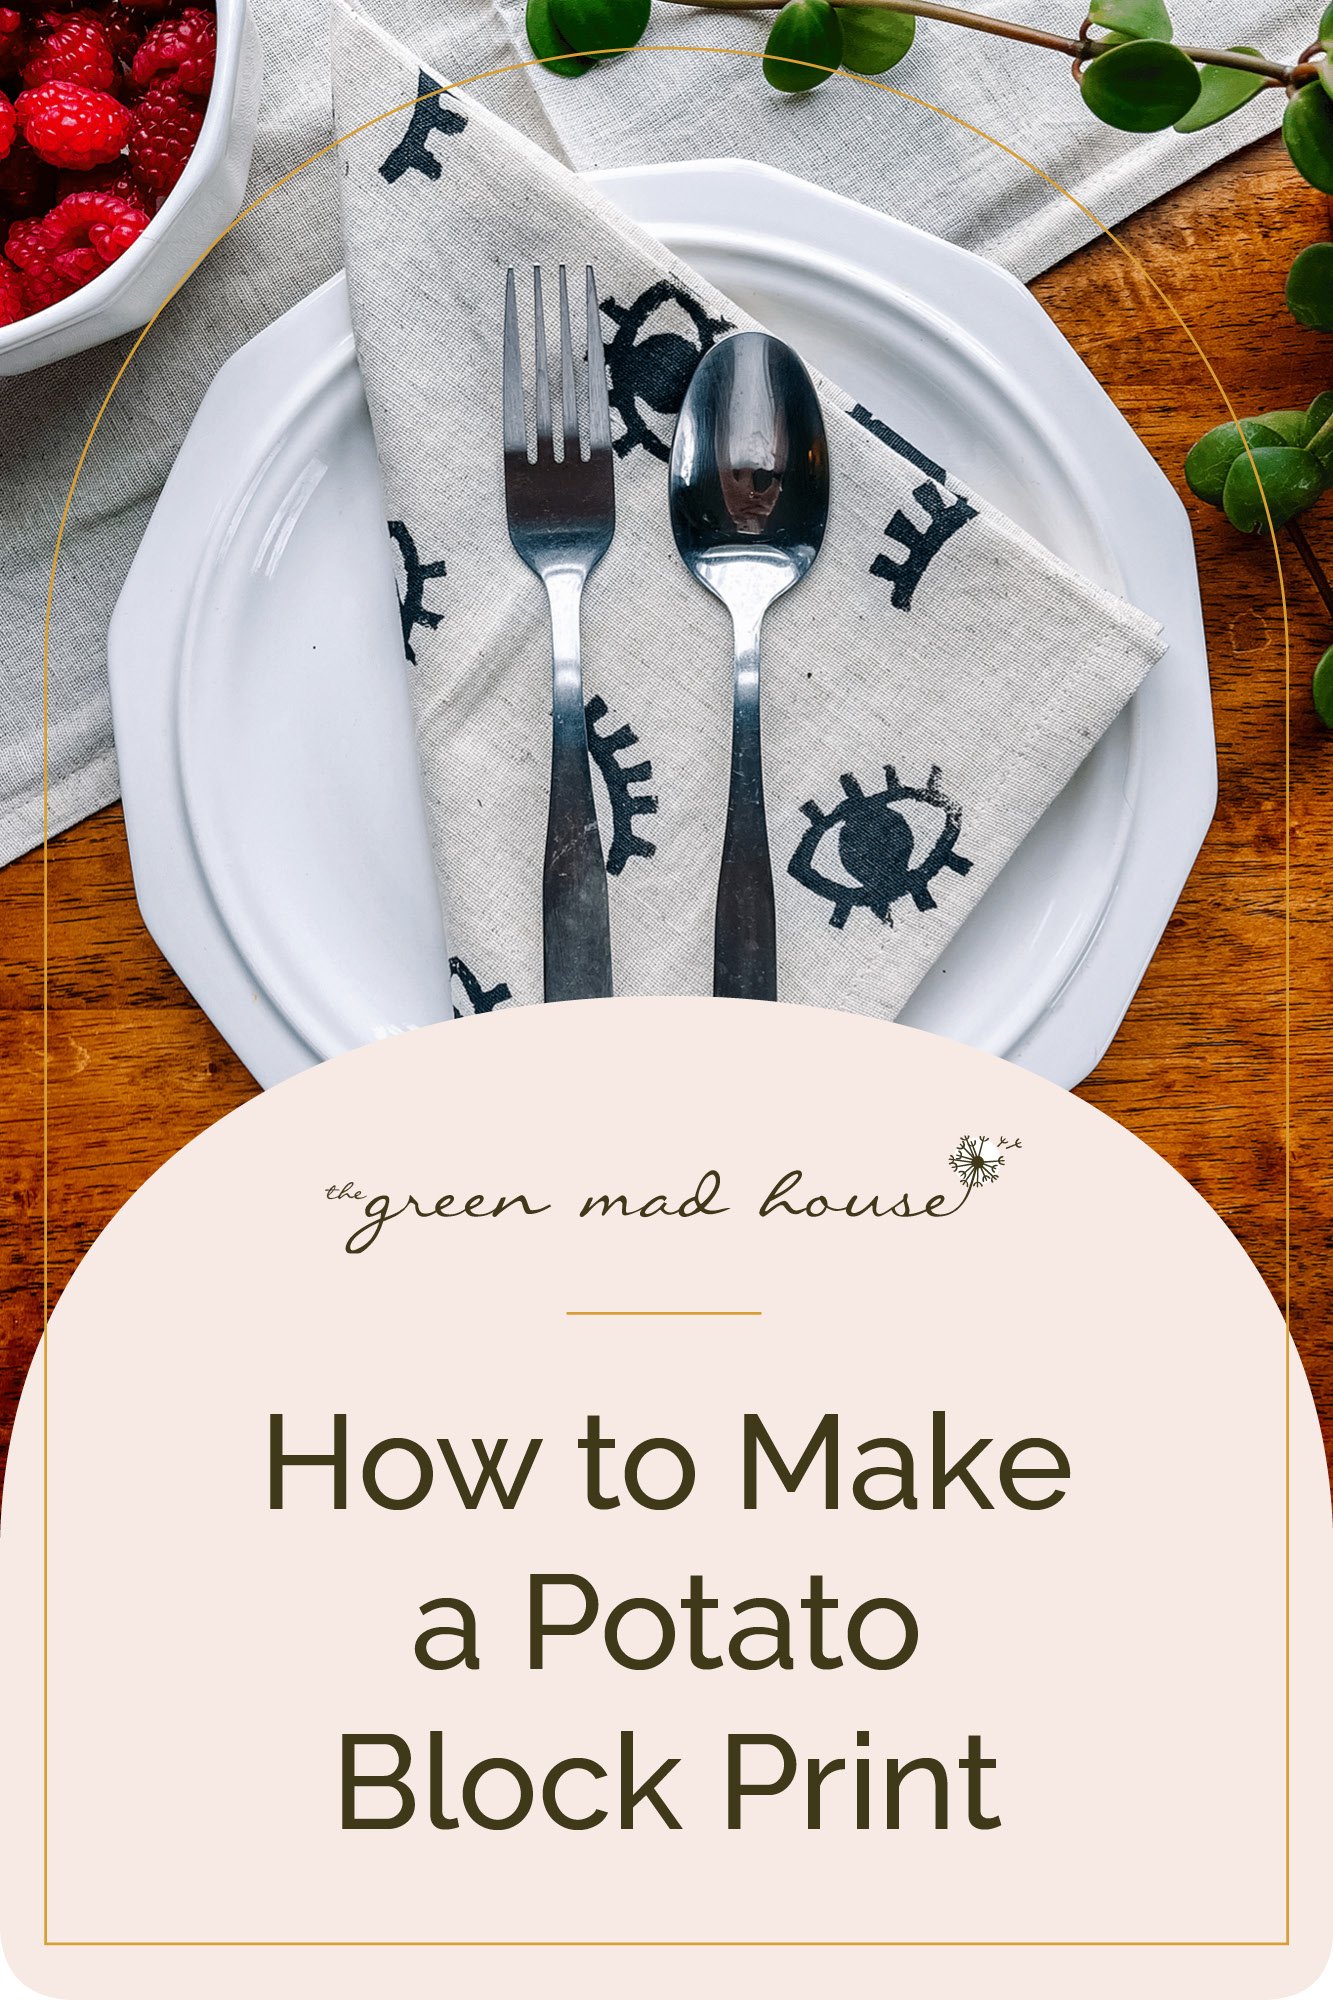
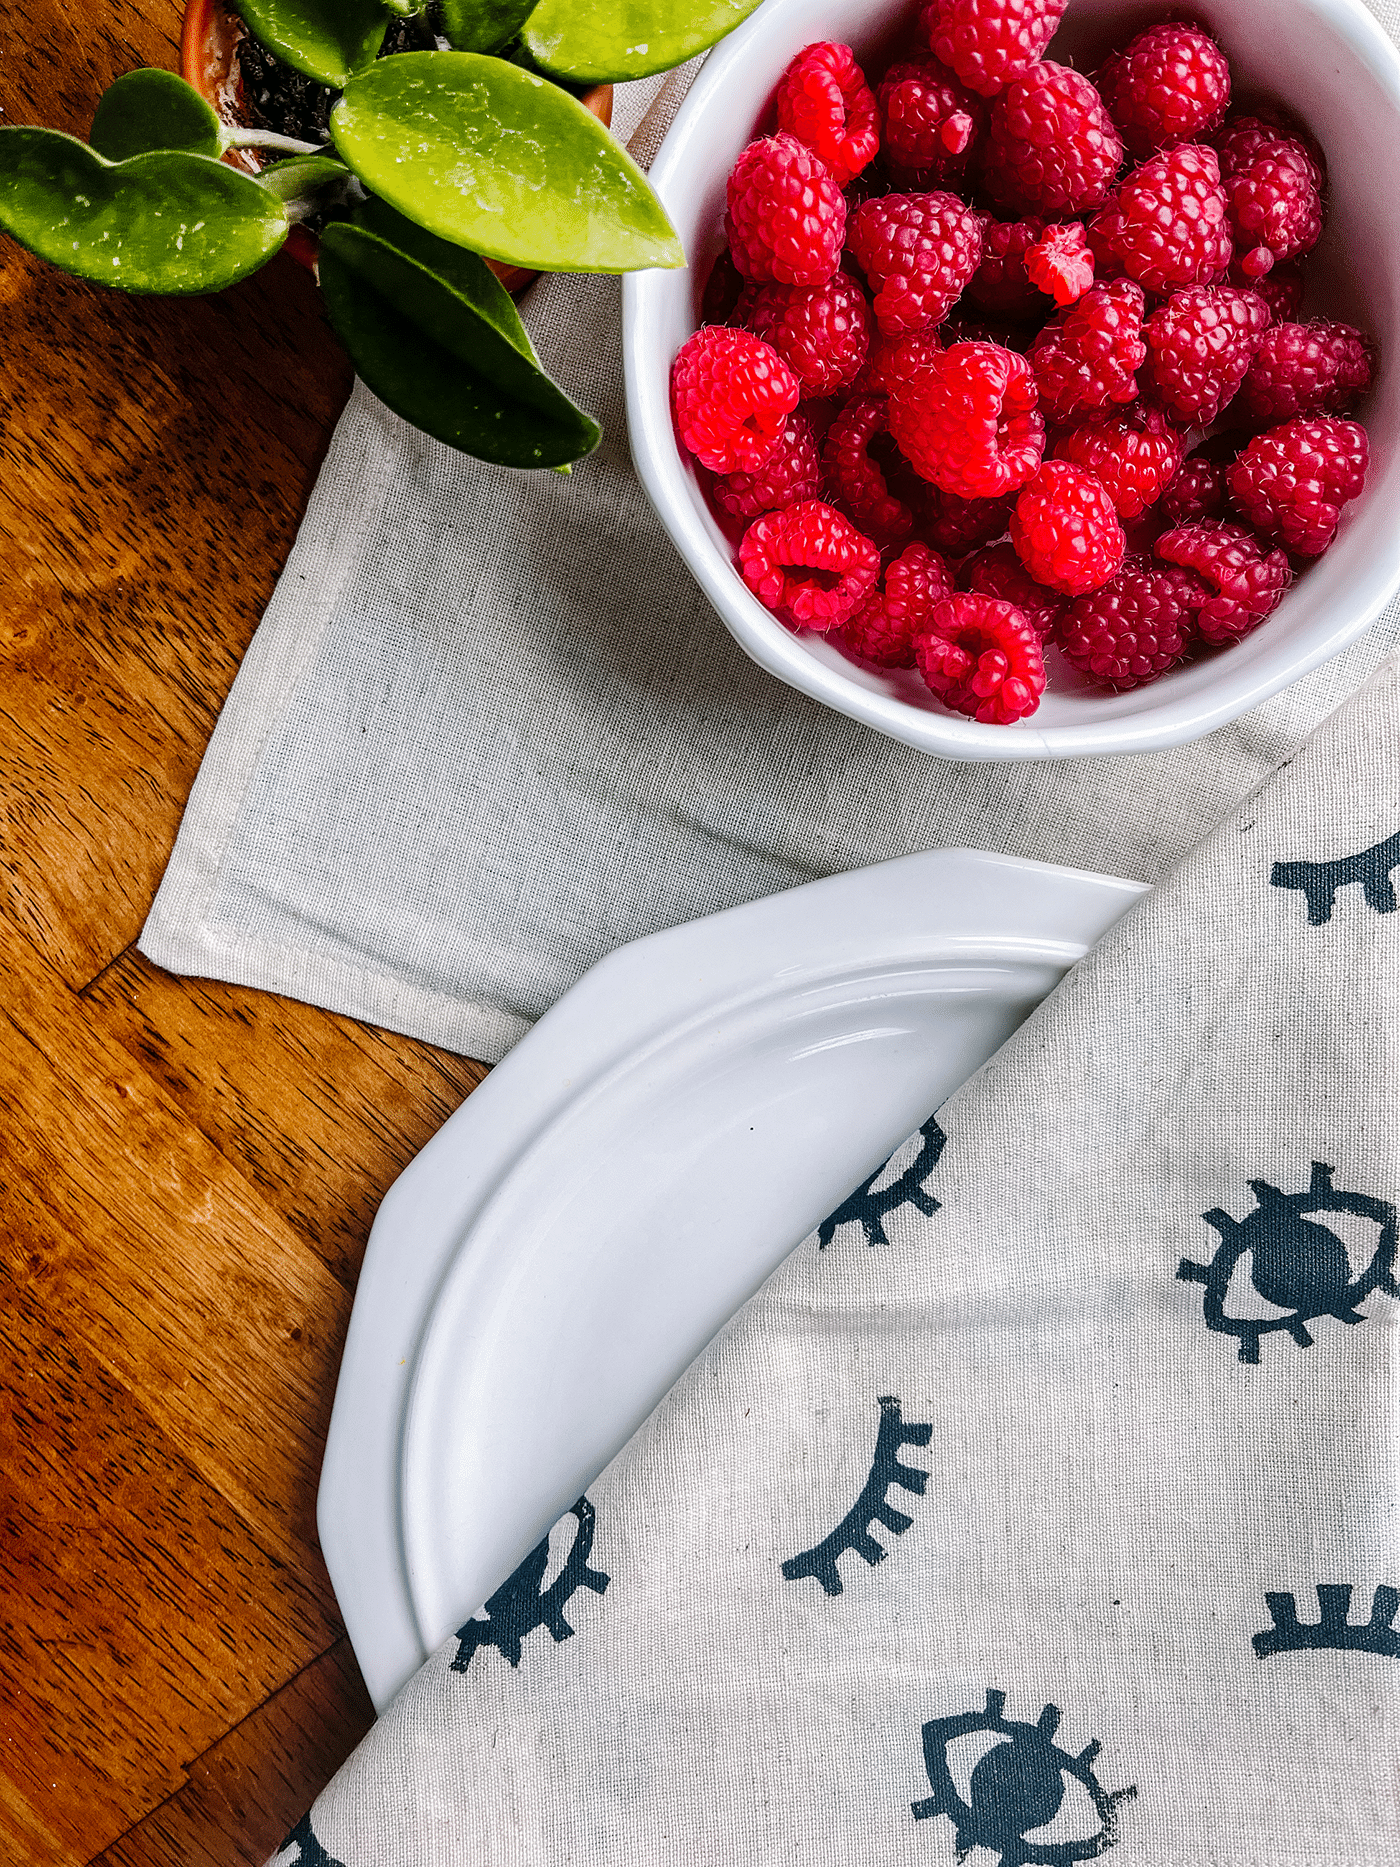
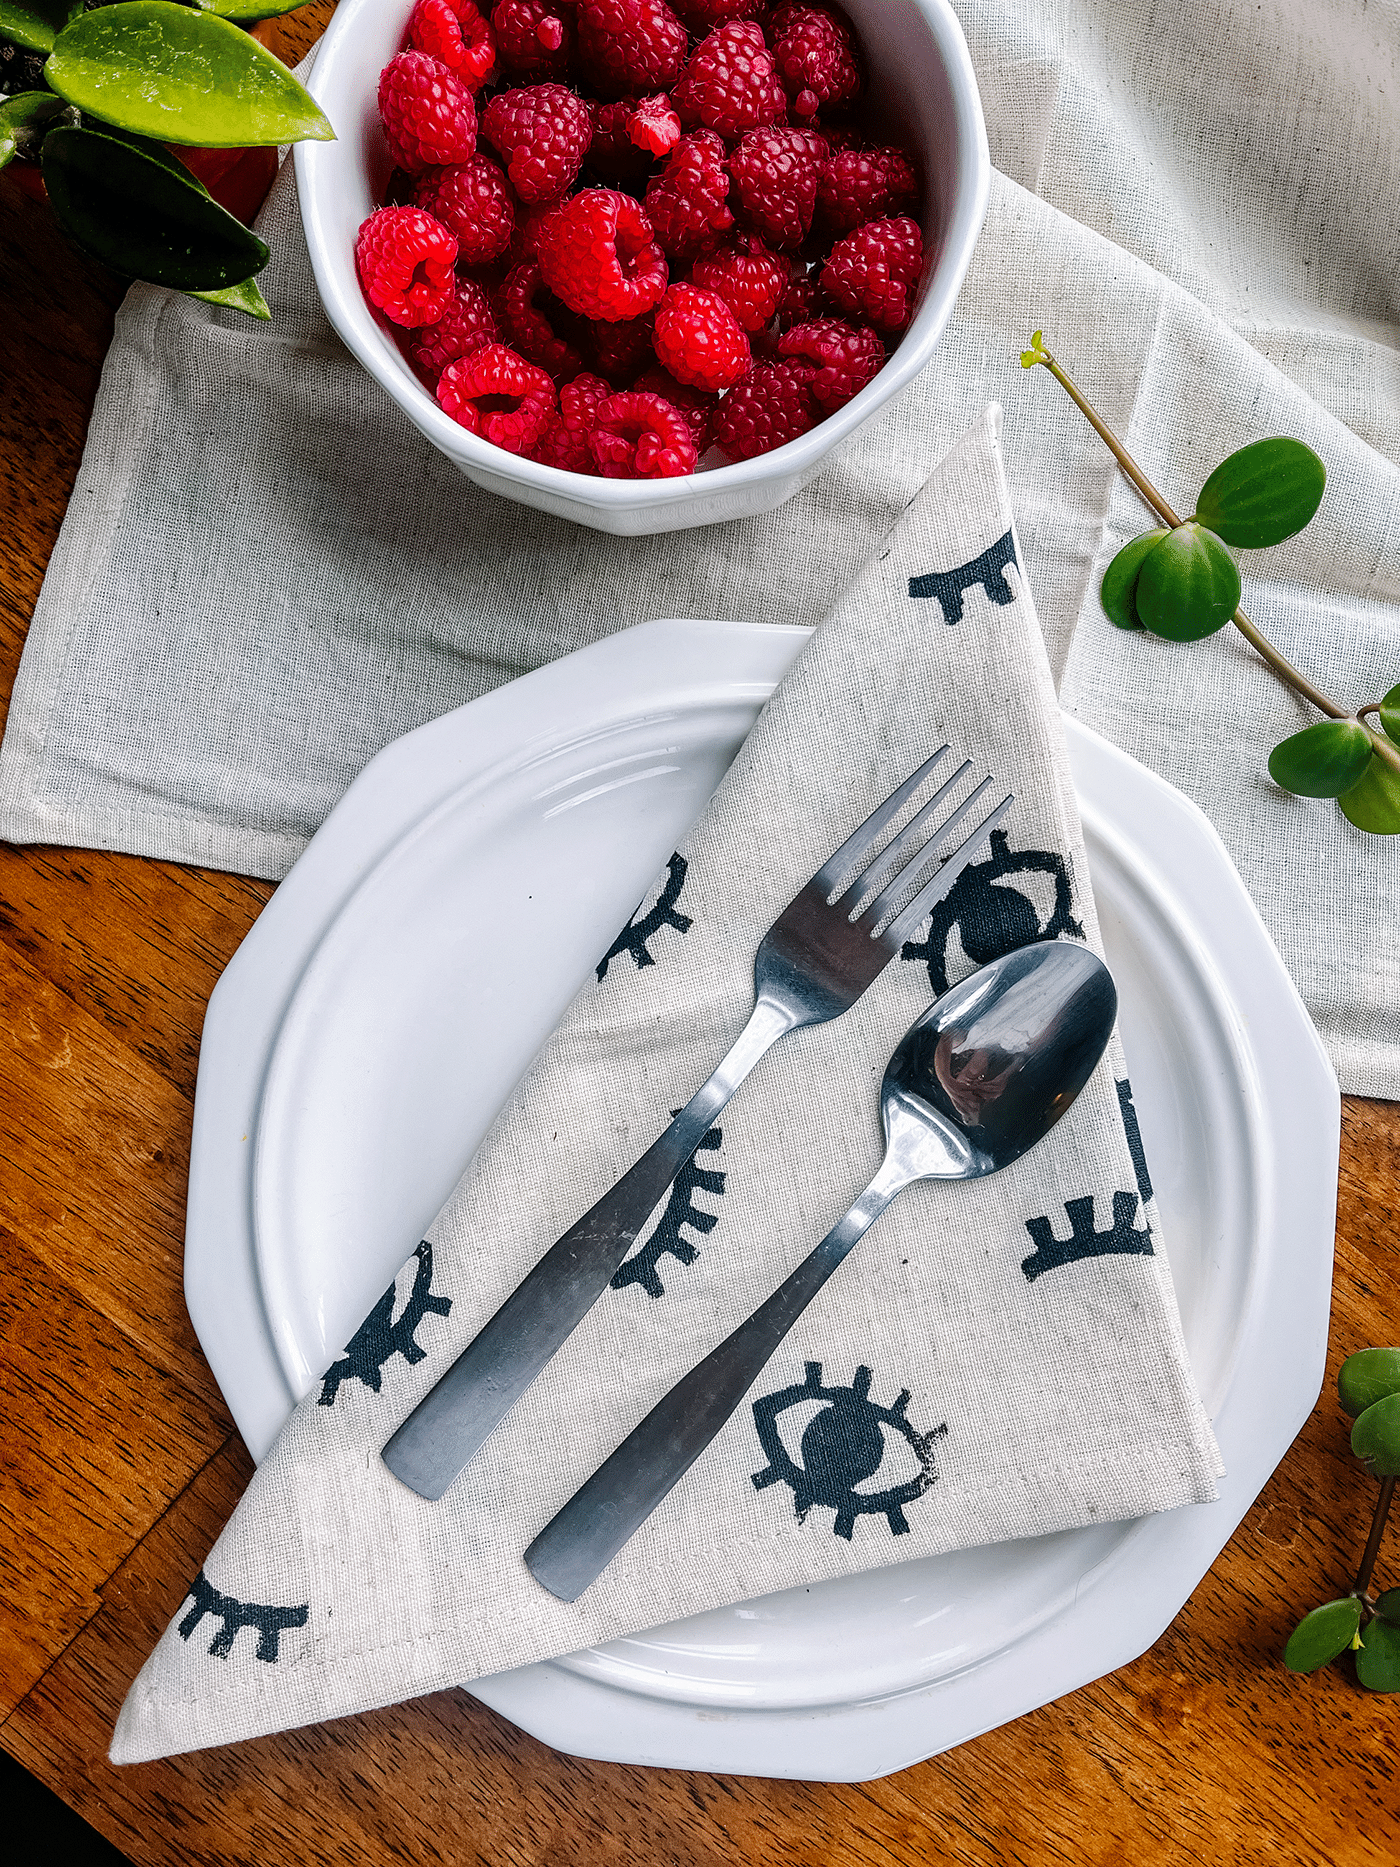
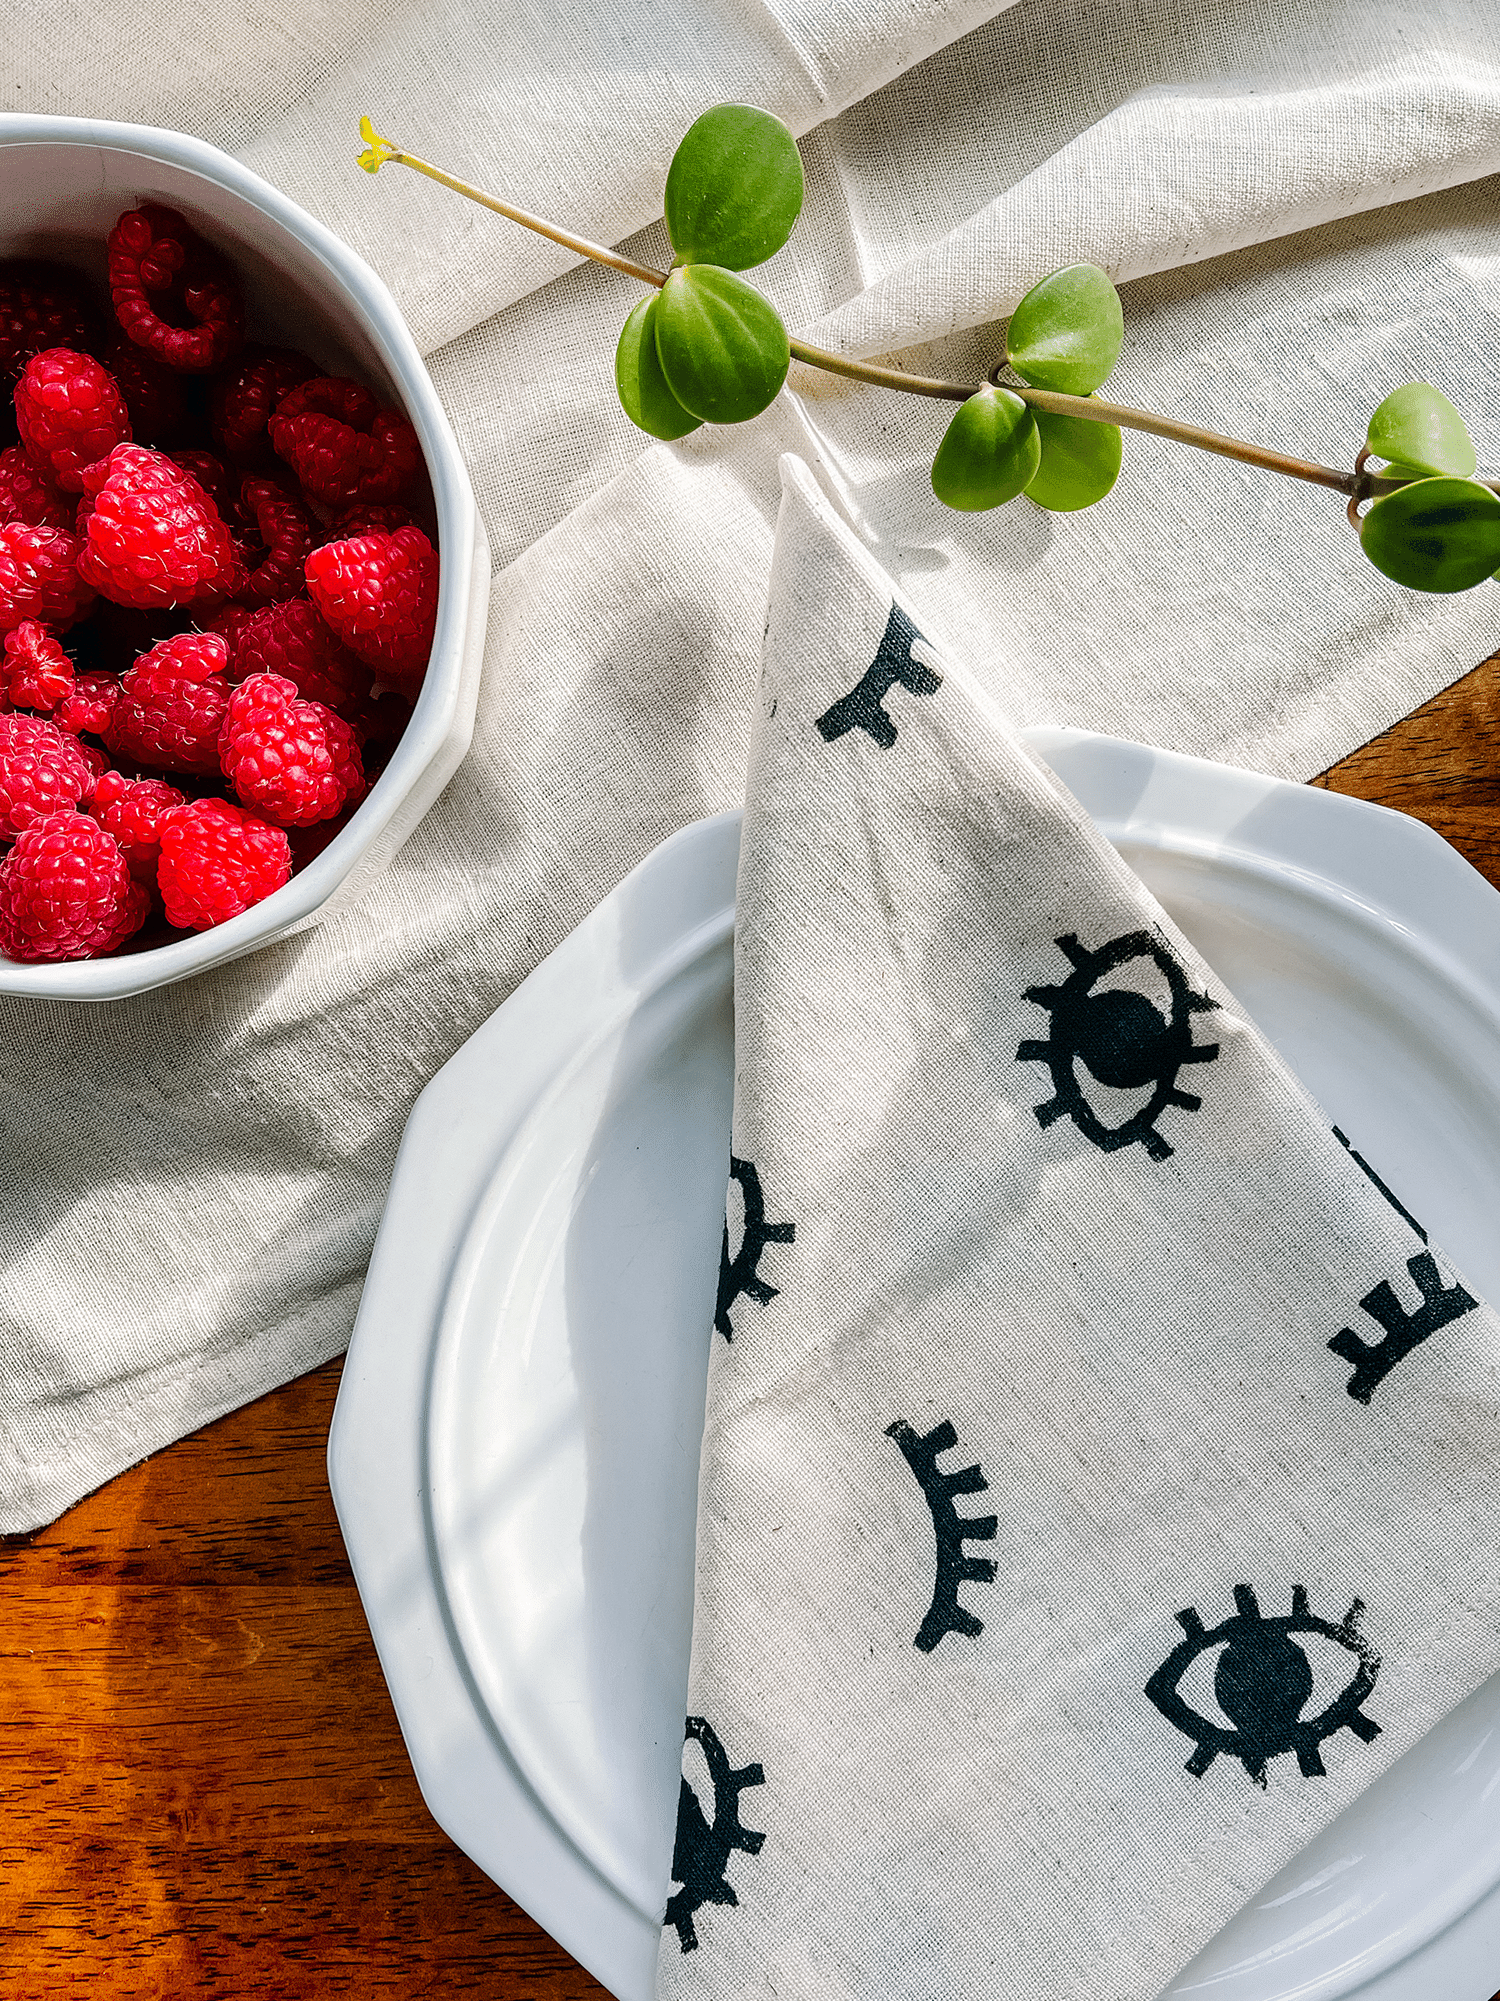
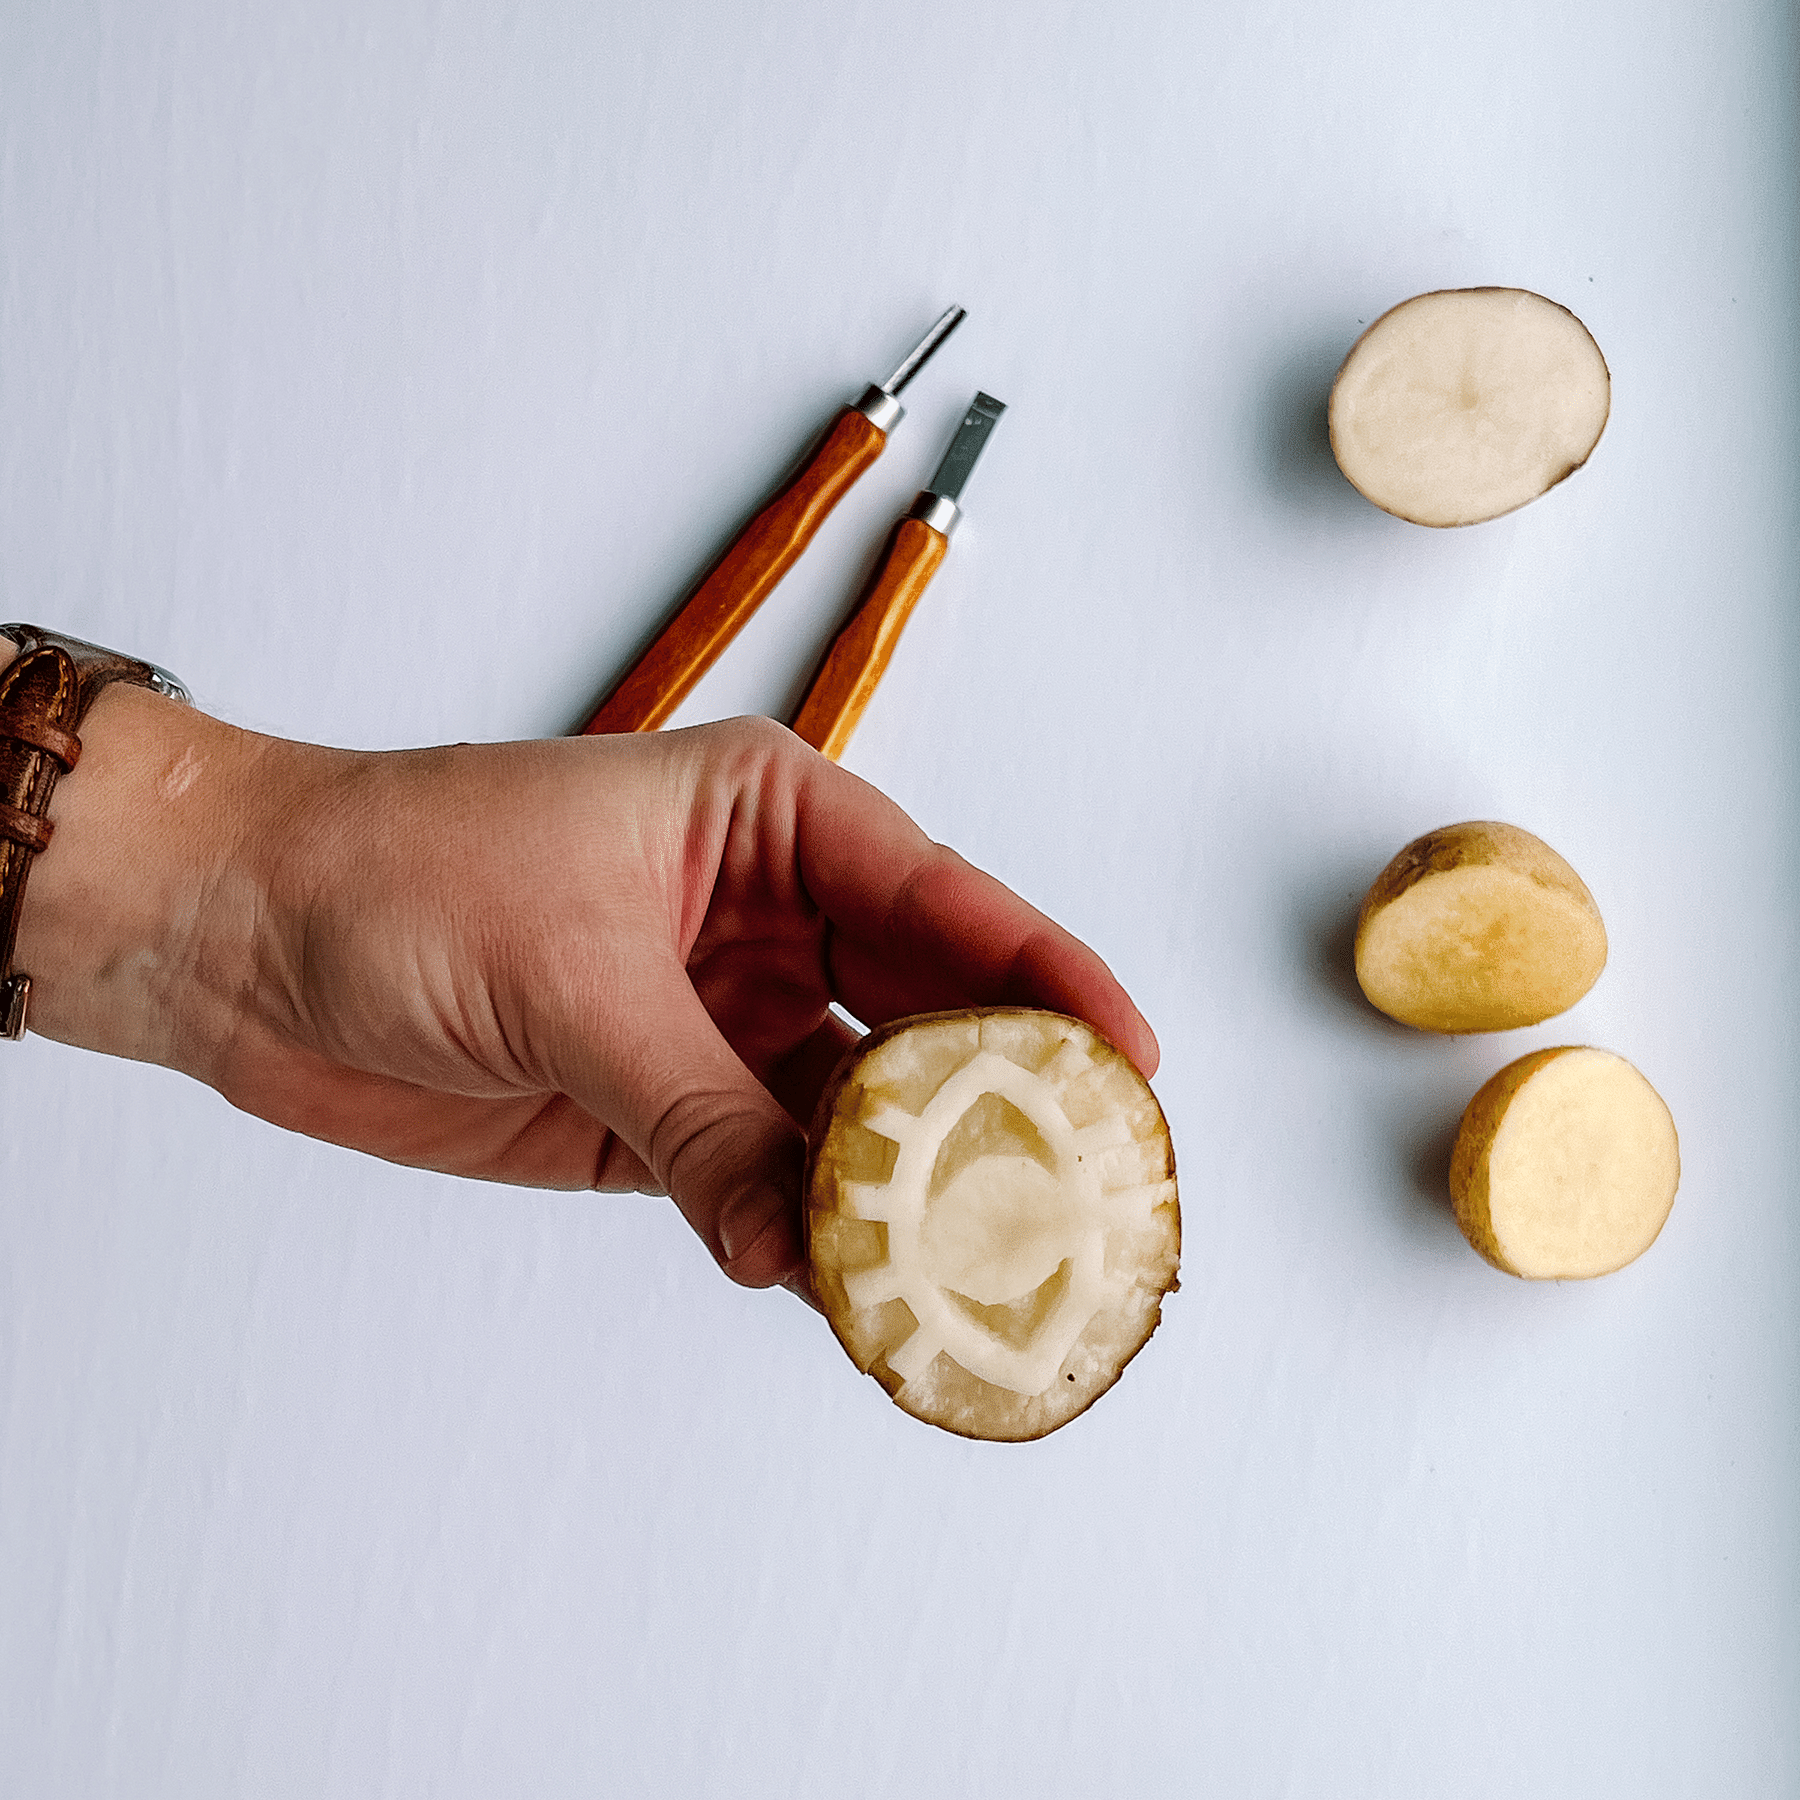
- Your design can be as simple as circles and half circles to more complicated leaves and eyes. While a sharp knife is good for simplicity, an exacto knife will be better for more details. The best option is stamp carving tools which is what I used. Unless you actively plan on carving stamps I do not see the need for purchasing them.
- That being said, do not make really fine or small details in your design. They will be lost in the excess paint or the potato being repeatedly squished over time.
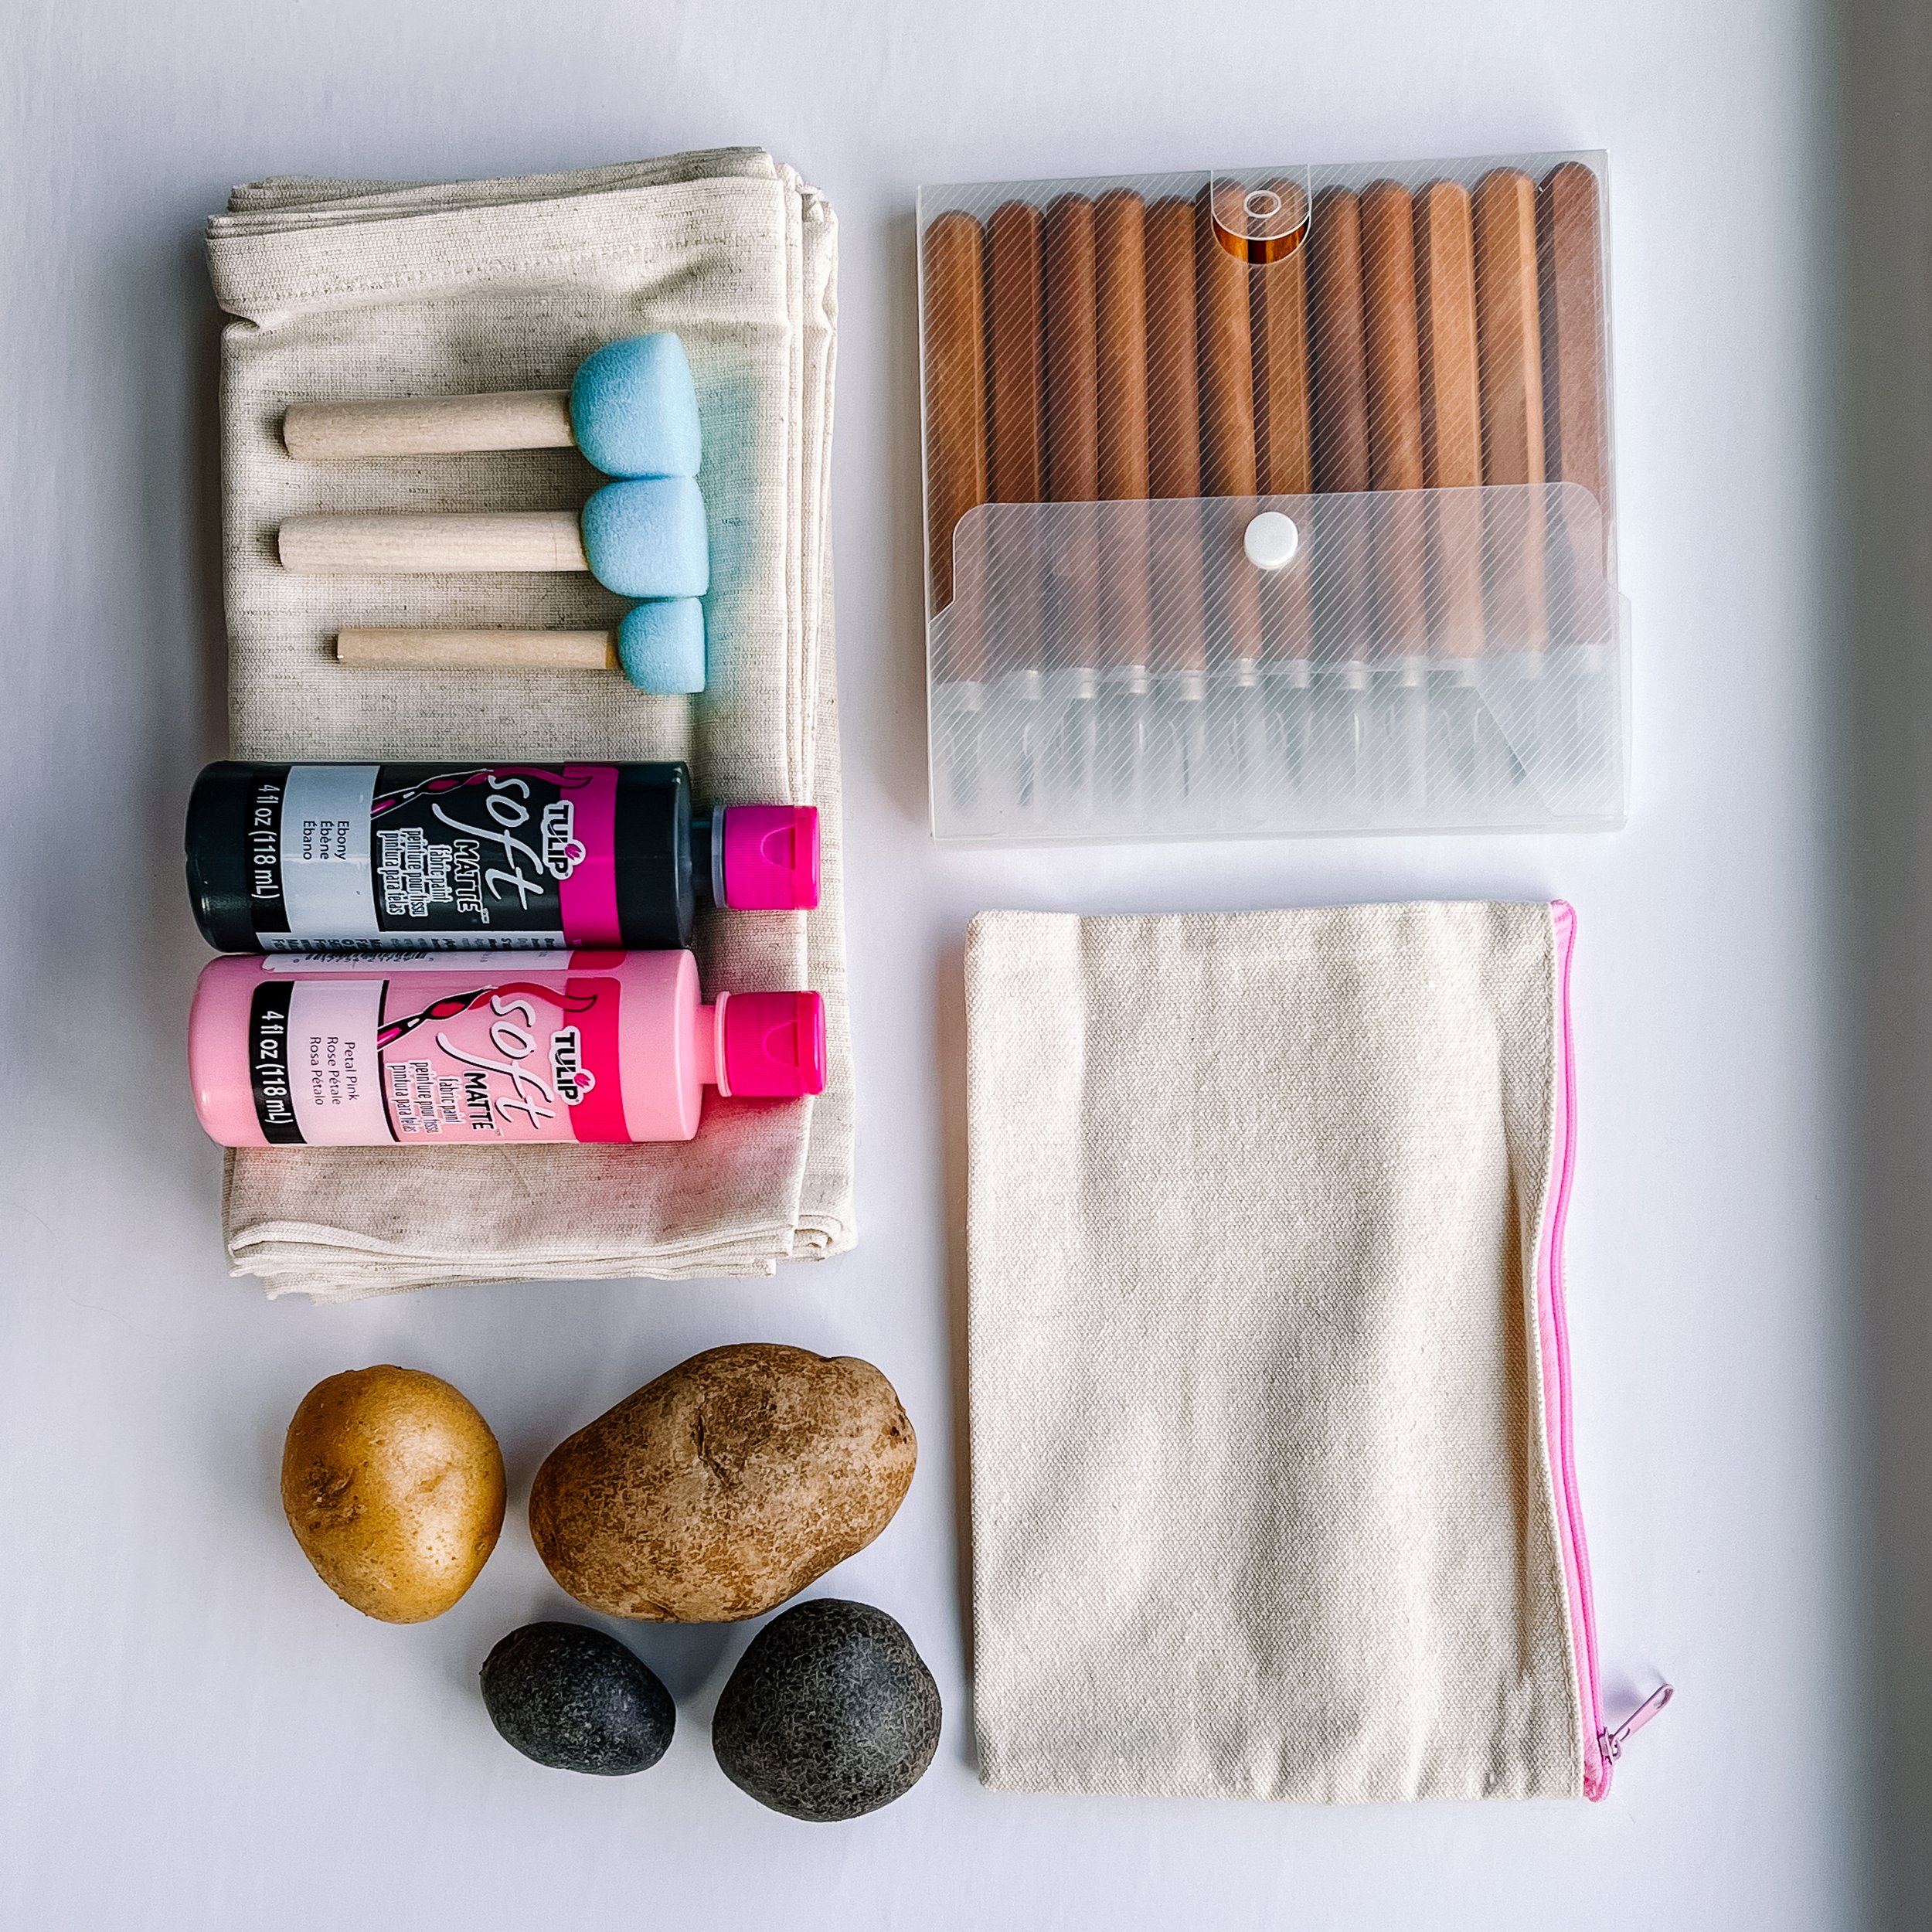
- Paper or Fabric? When choosing paper I would suggest going for a thicker cardstock or one specifically labeled for printmaking. My fabric is a light cotton-linen blend and took the color really well. I tested on a thicker canvas and the paint was not as saturated so this is a case where Ink would be your best medium.
- You can use a variety of paints and inks. It comes down to if you are printing on paper or fabric, how much you want to spend, and messiness.
- Acrylic Paint: Not good for fabric as it will wash out and fade over time but great for paper.. You probably already have this and it is super cheap. Good for kids as it is easy to clean up.
- Fabric Paint: Relatively cheap but not a ton of colors so you will have to mix for specific shades. Meant for fabric but still easy to clean up if it gets on surrounding surfaces, Will not saturate on heavy fabrics like Ink will.
- Block Print Ink or Fabric Block Ink: This is what stamps are technically supposed to use. It is more expensive and can be hard to clean up but it will give you very vibrant colors with even fill. Less color options here than Acrylic paint.
If video format is more your speed, I made a compilation of the DIY for you to follow. I am going to try this on more of my blog posts. Let me know if you like it! Subscribe to my YouTube channel to keep up with new videos or my Instagram @thegreenmadhouse.
Cut Potatoes
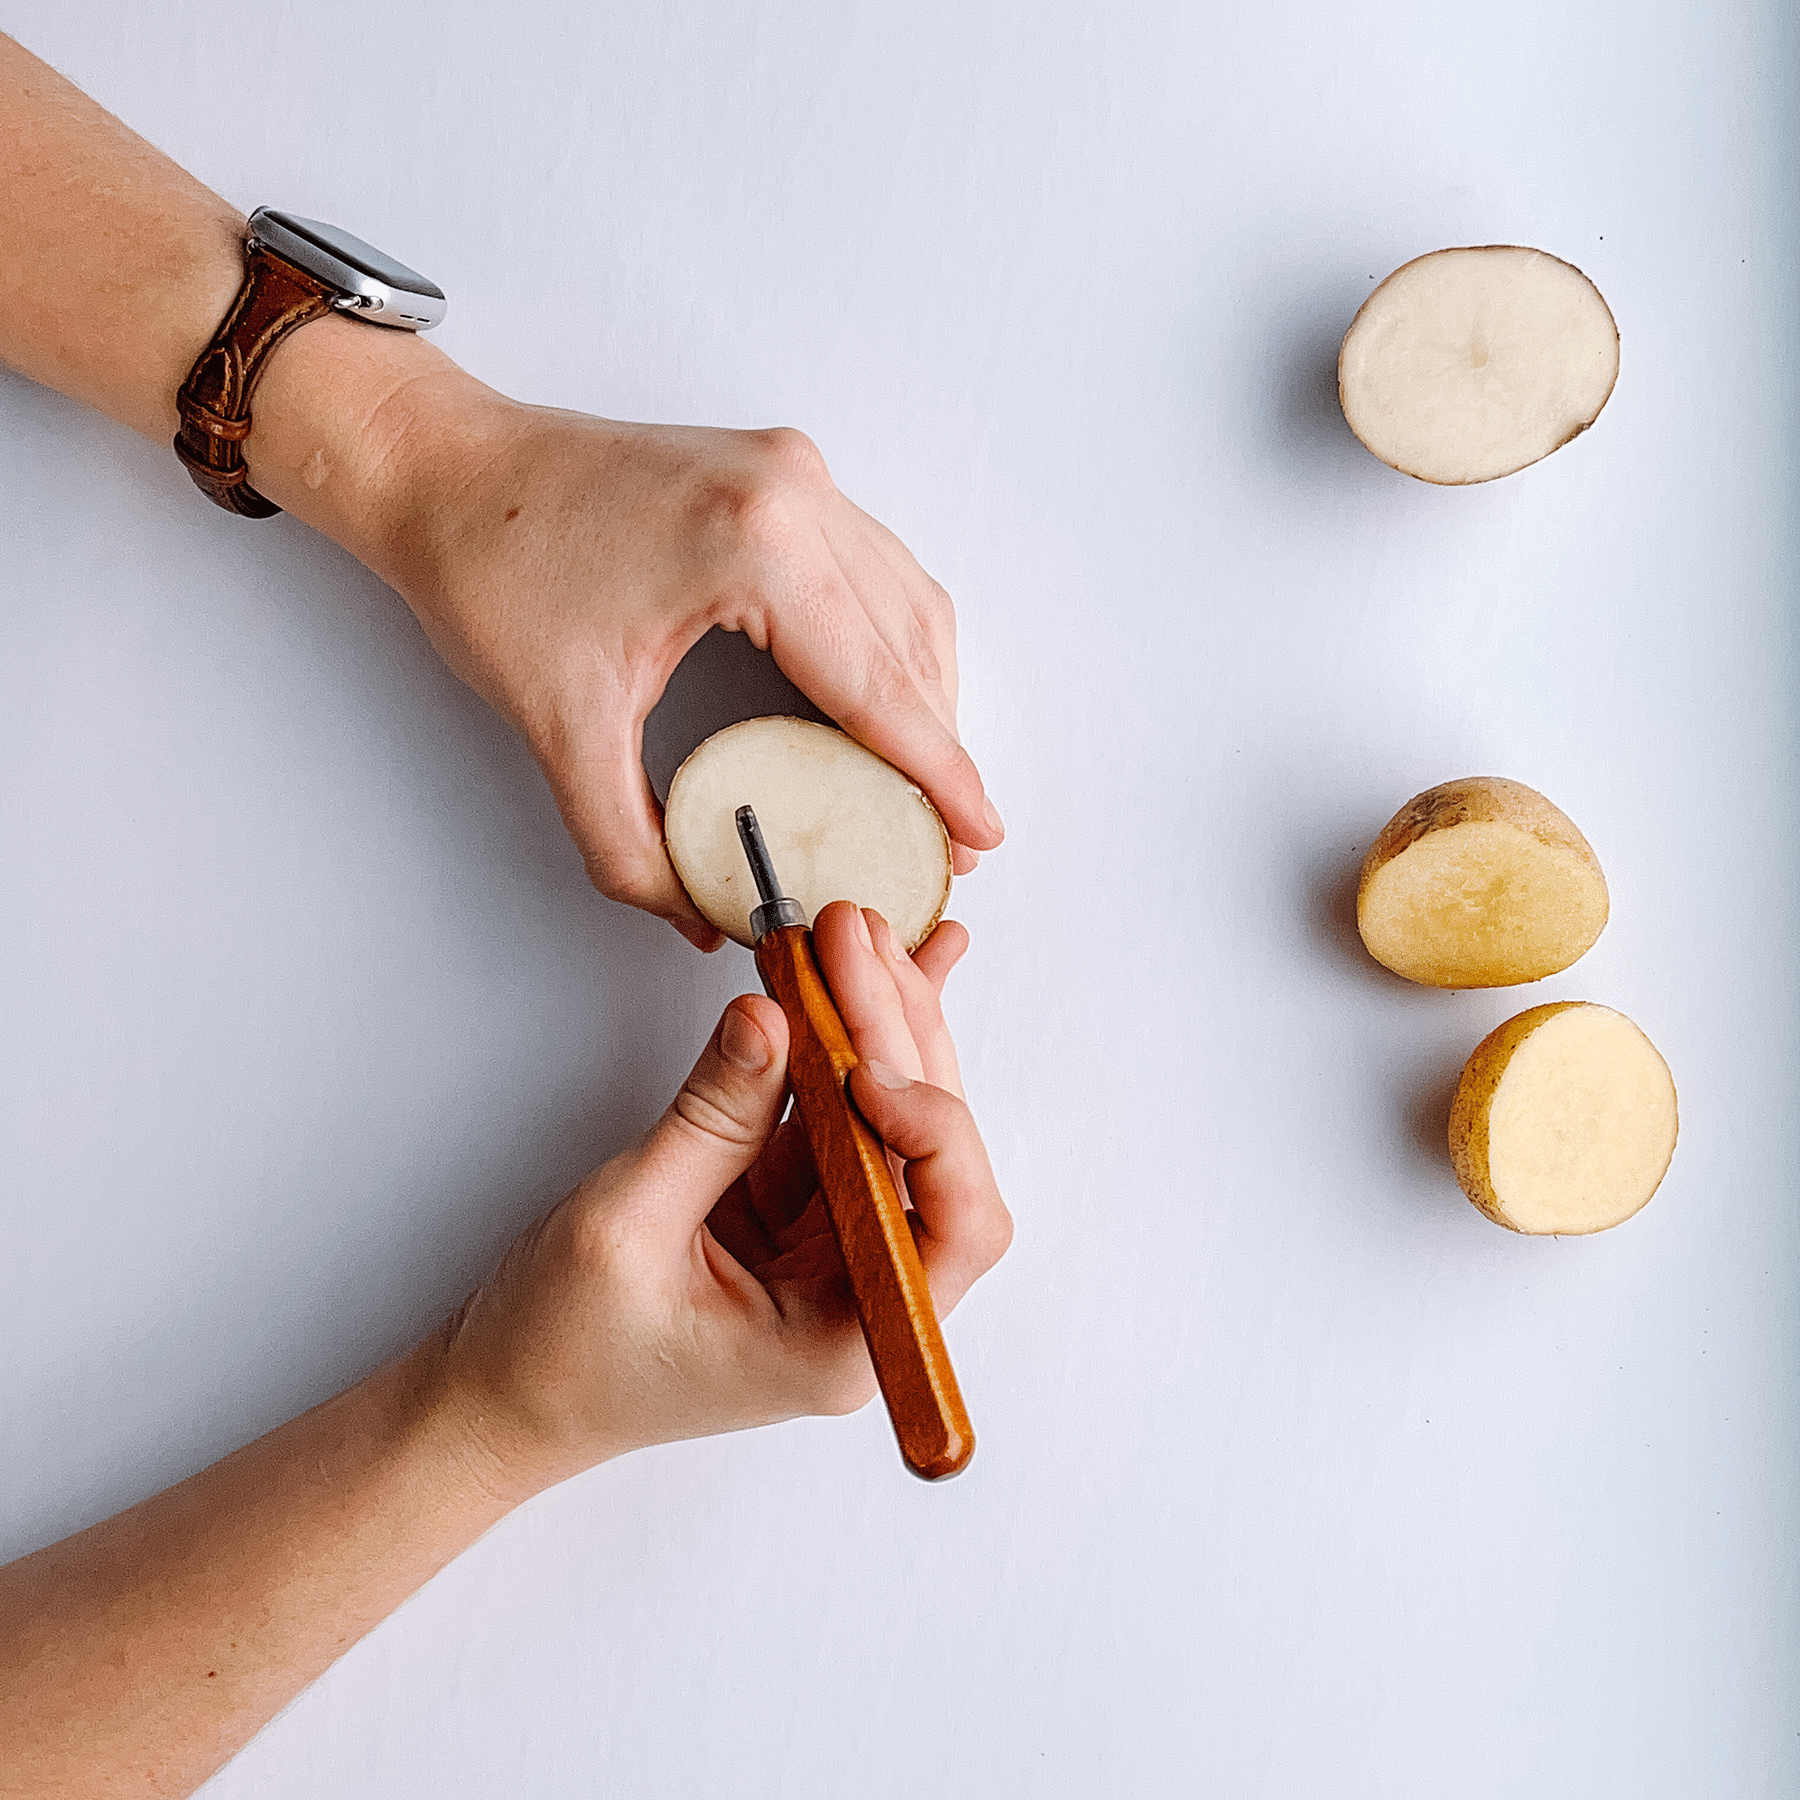
Wash and dry your potatoes. Cut them into halves or quarters.
Carve Potatoes
If you are making a more intricate design than a circle or half circle, carve your design into the potato. Make sure it is at least 1/4” deep.
Sponge Potato
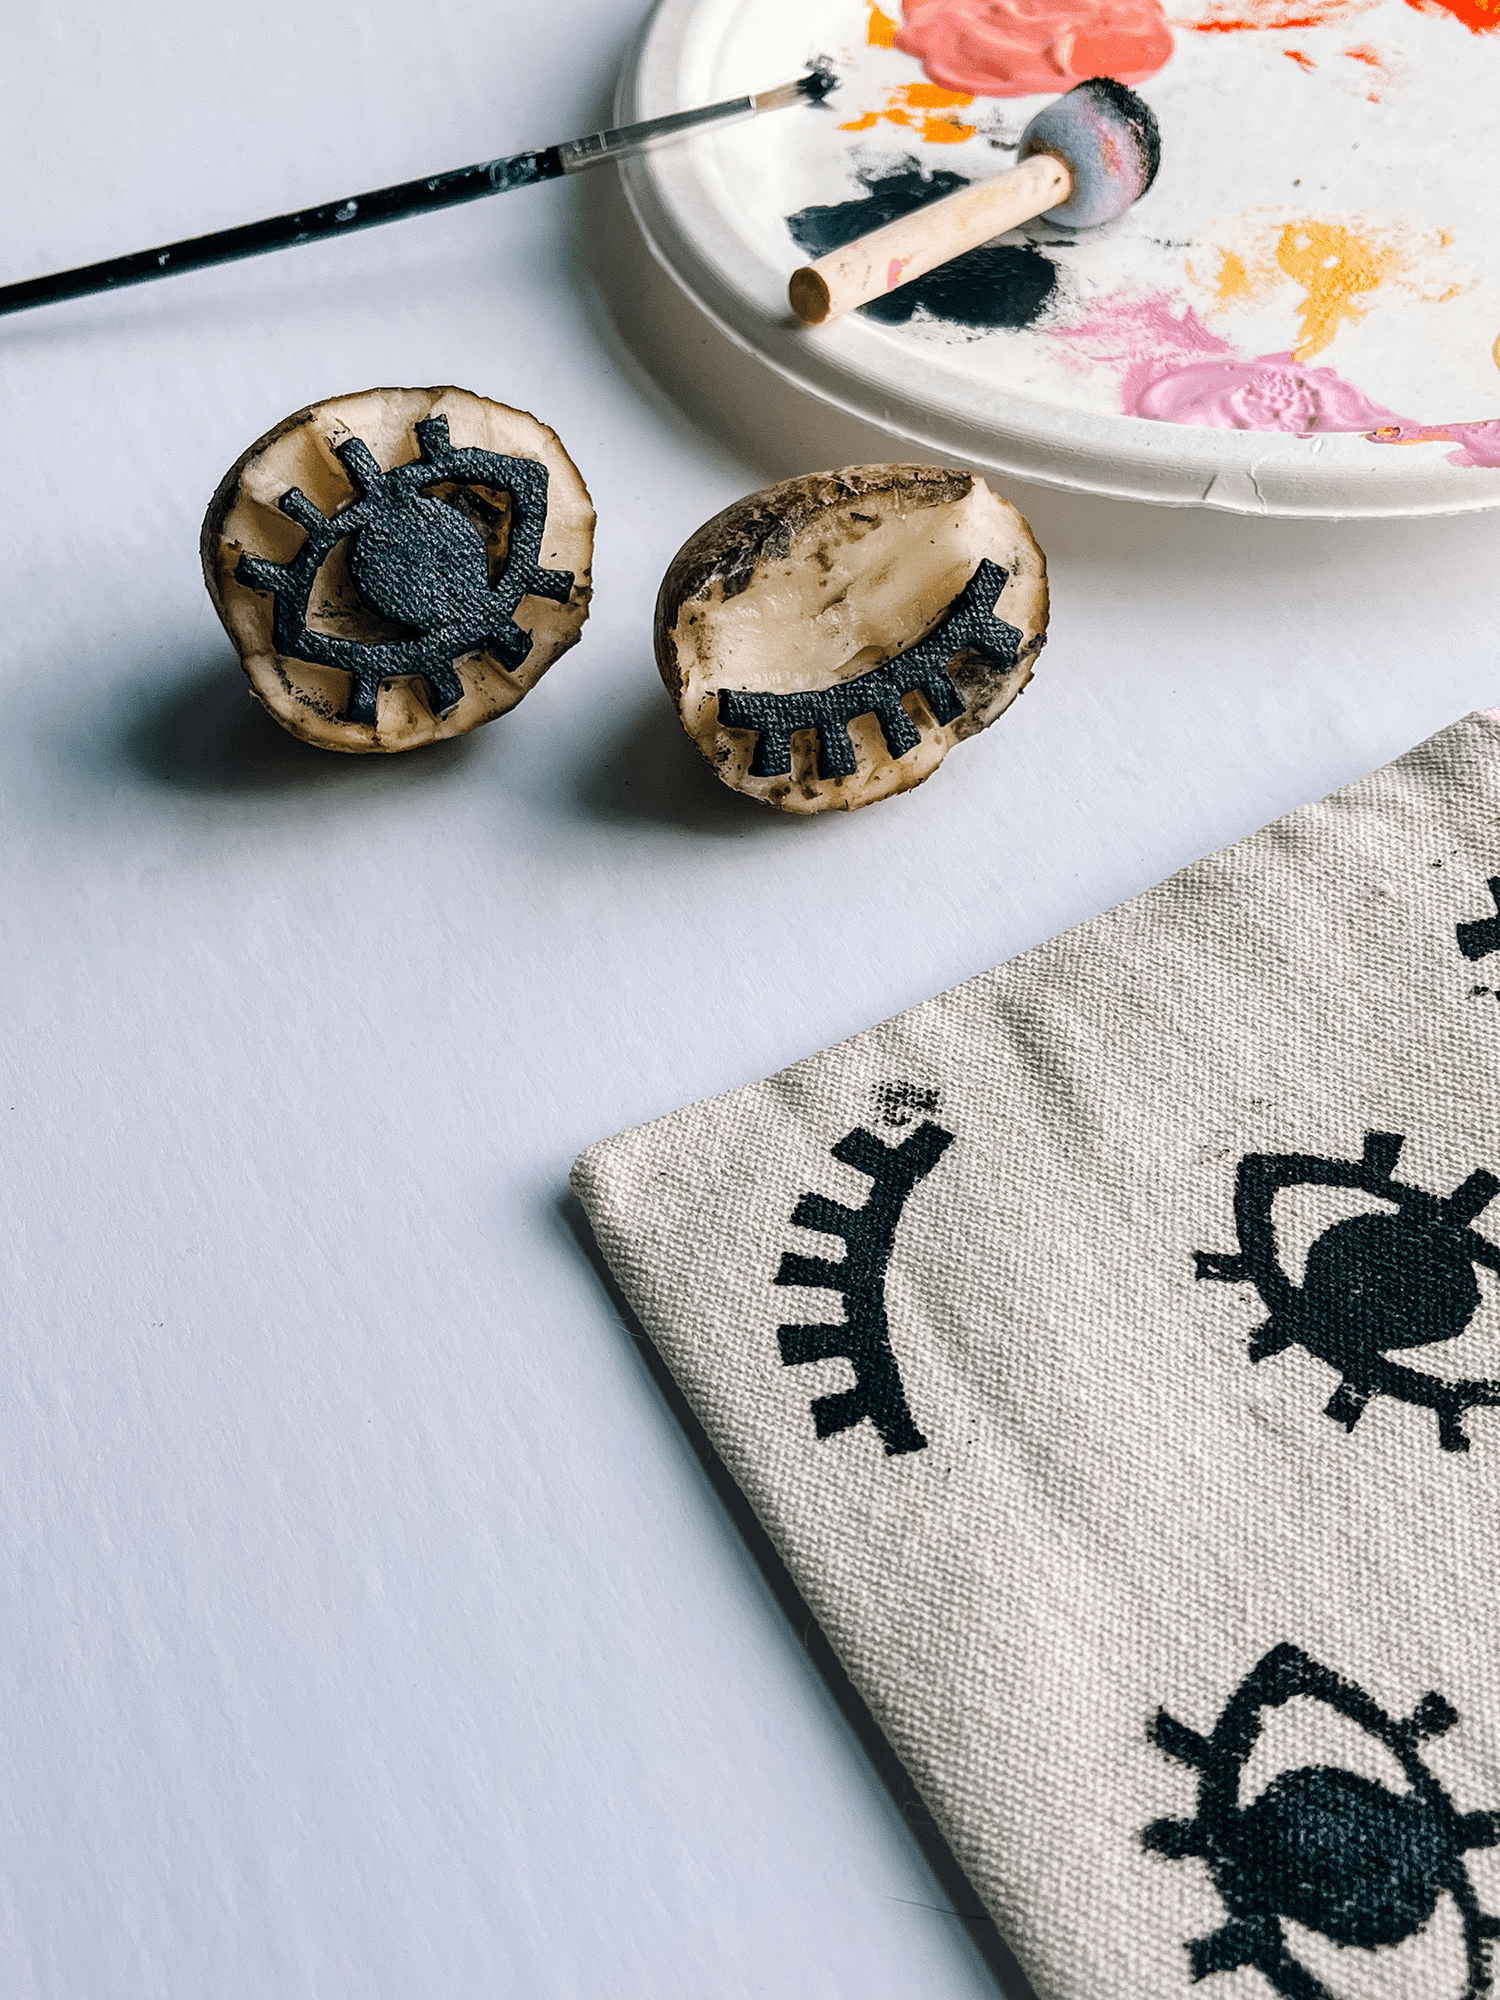
Dry off your potato and sponge on your paint or ink.
Press Potato
Press your potato firmly down. Making sure all edges get evenly pushed in.
Repeat
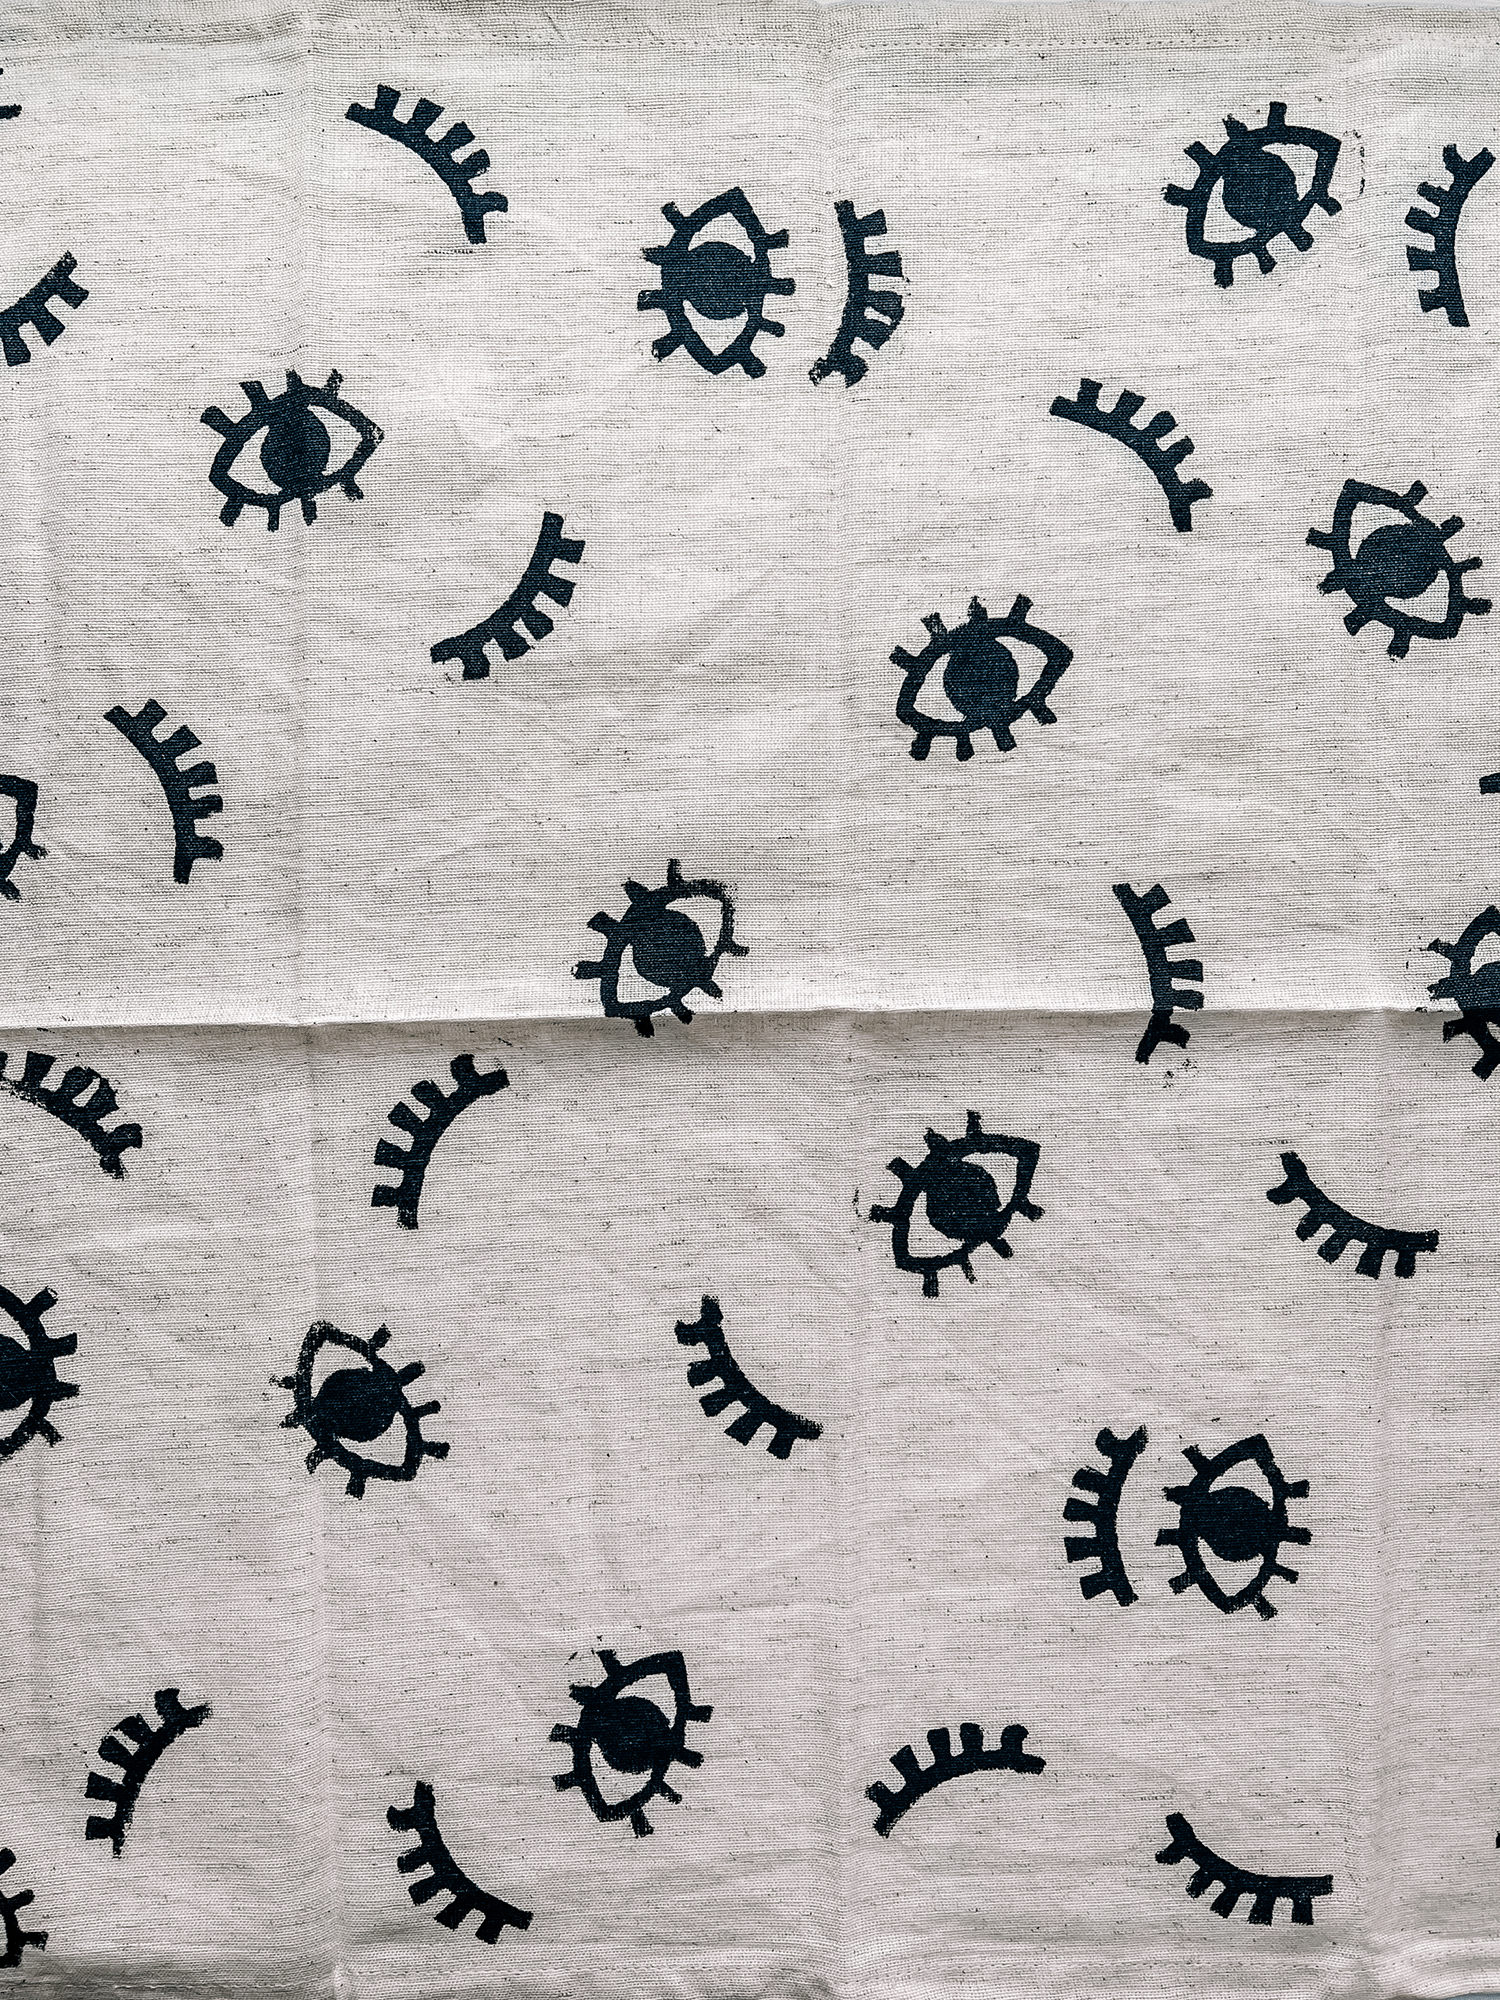
Continue your stamping until you are done and let your item dry for at least a few hours.
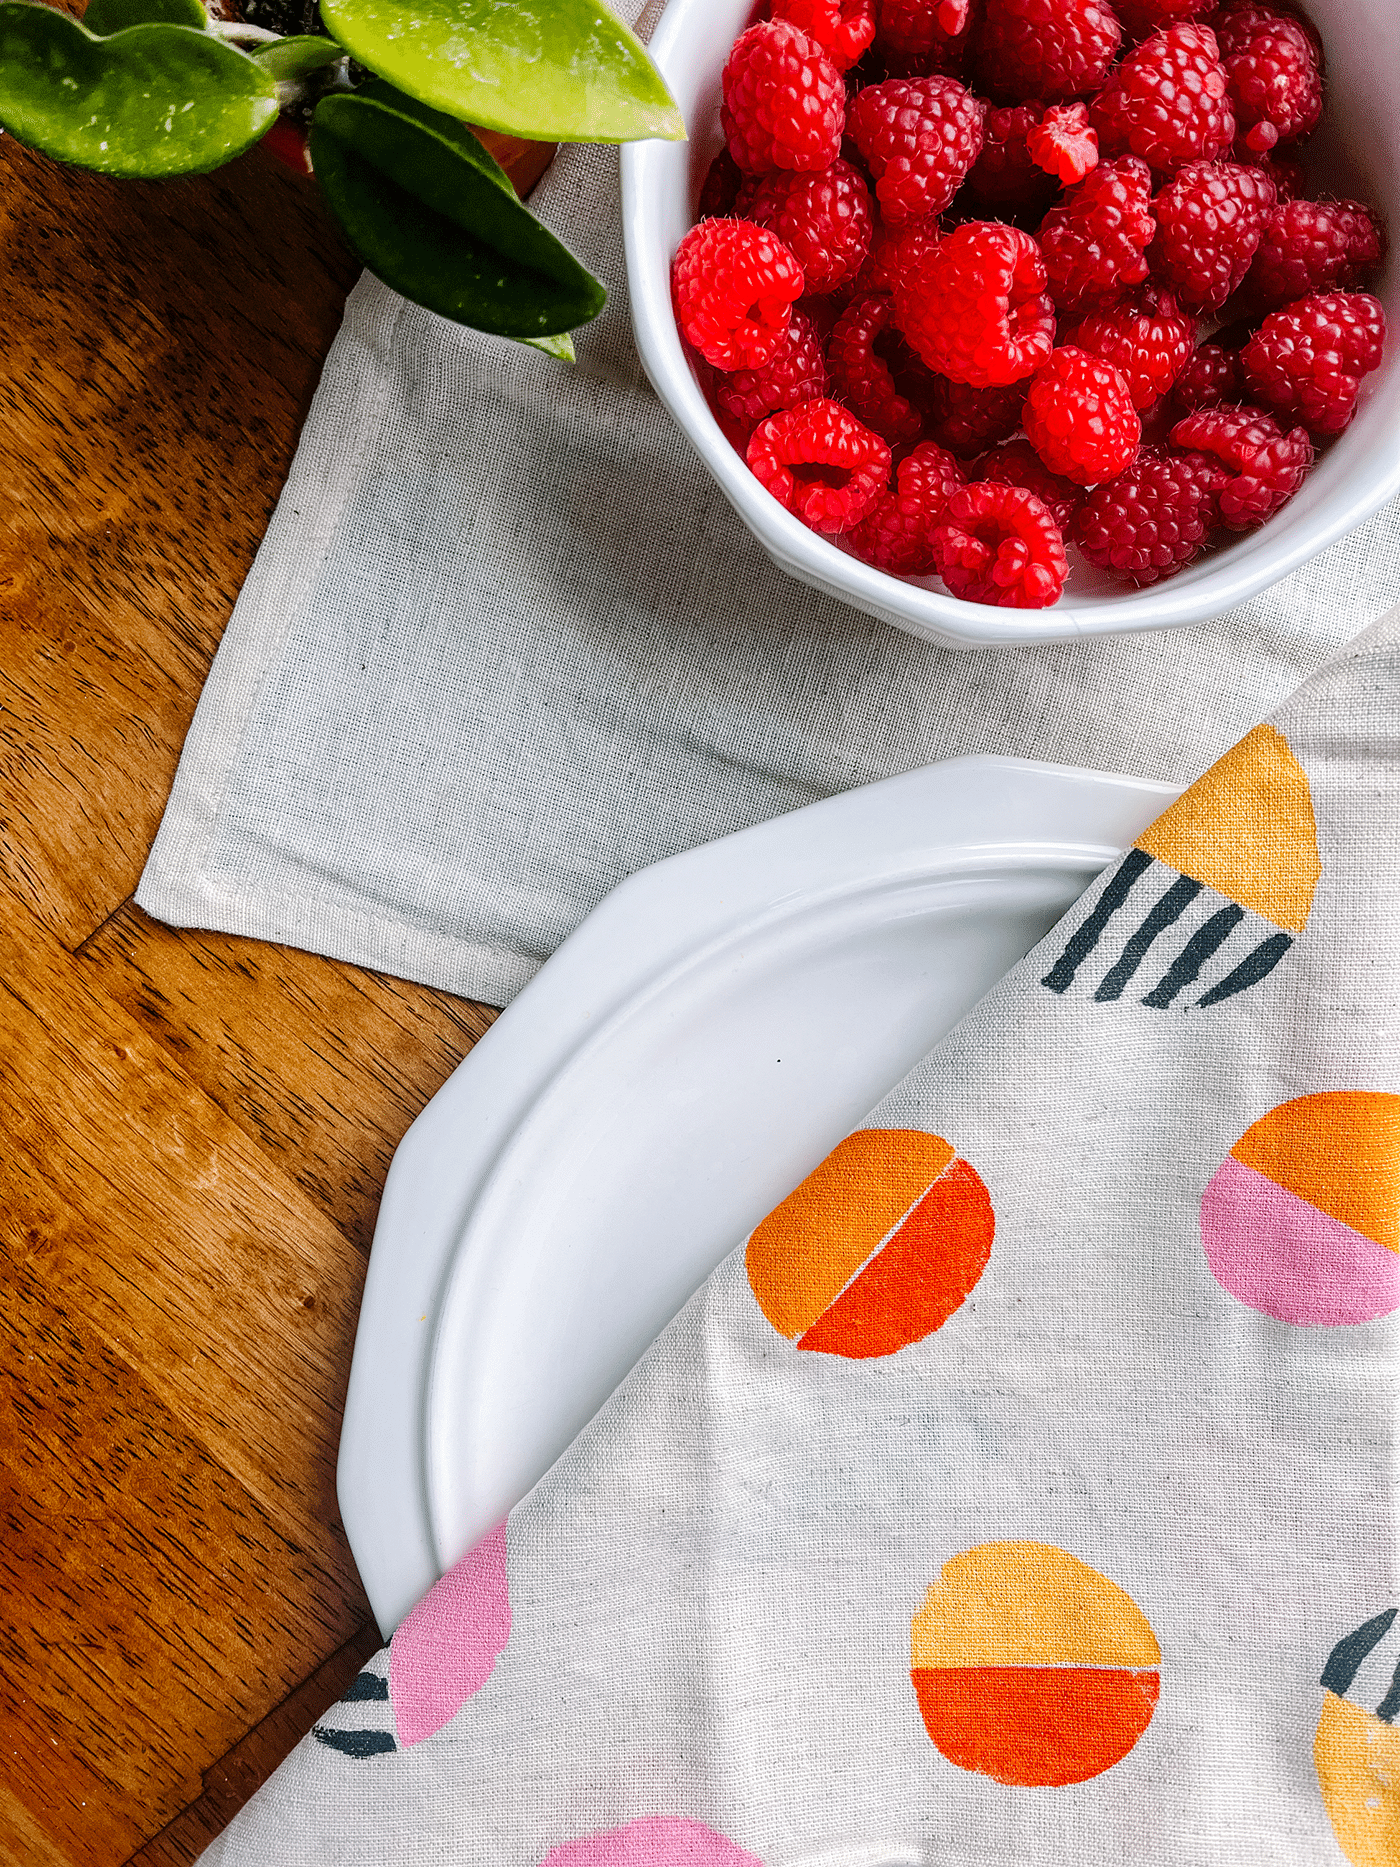
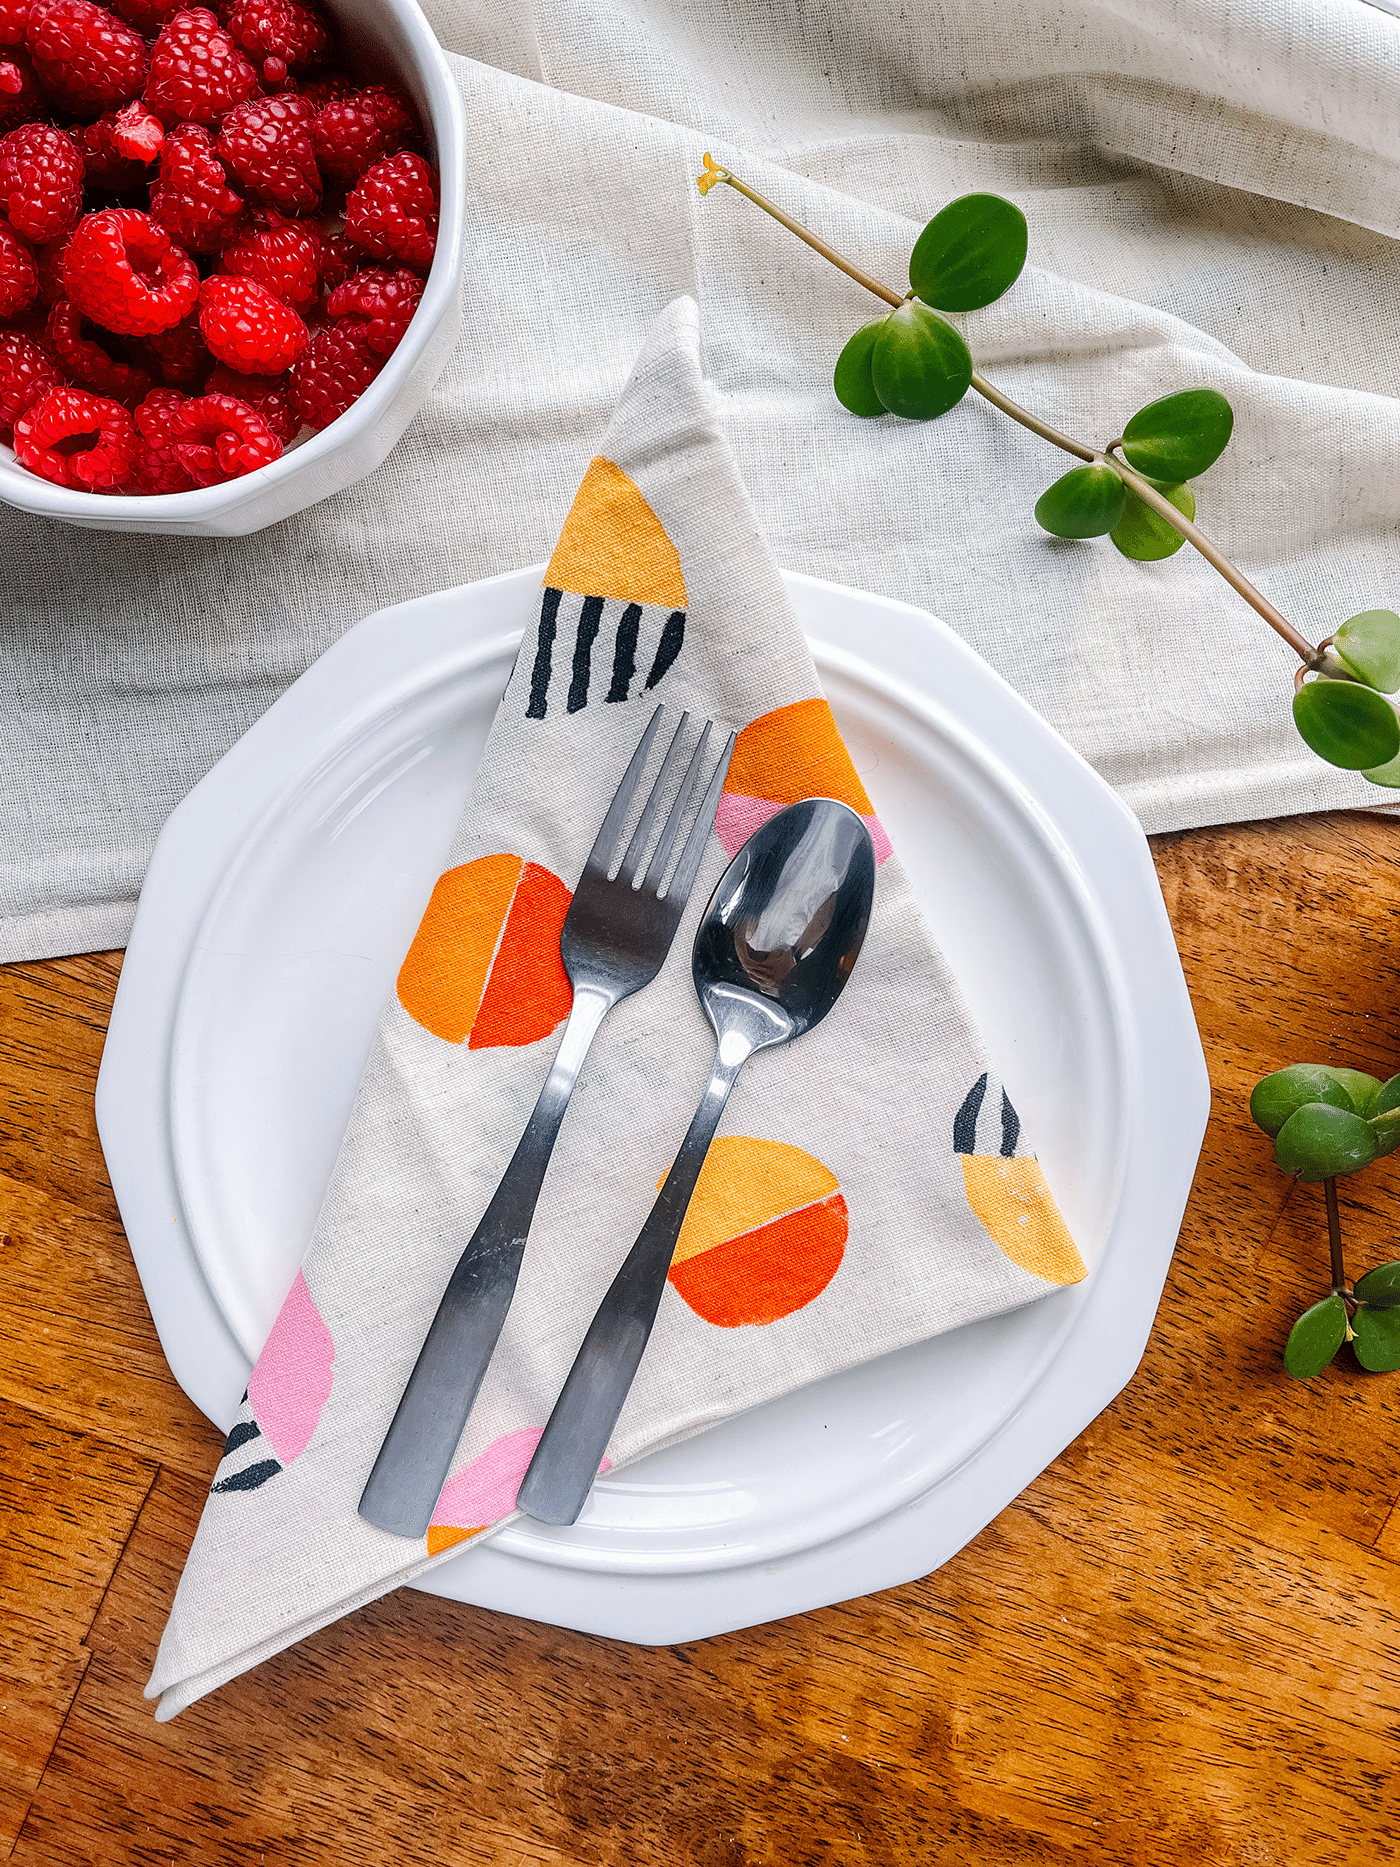
How easy was that? An afternoon well spent listening to podcasts and stamping to your heart’s desire. I now have 2 new sets of napkins thanks to a few potatoes and have plans to stamp a few more things like some makeup pouches and tote bags. I also want to make a linocut of my logo’s dandelion so I can stamp packages from my Etsy shop. Let me know how yours turns out or by tagging me on instagram @thegreenmadhouse.

