How to Make a Candy Corn Pom Garland


As an Amazon Associate I earn from qualifying purchases.

Check out the Spooky Jar DIY
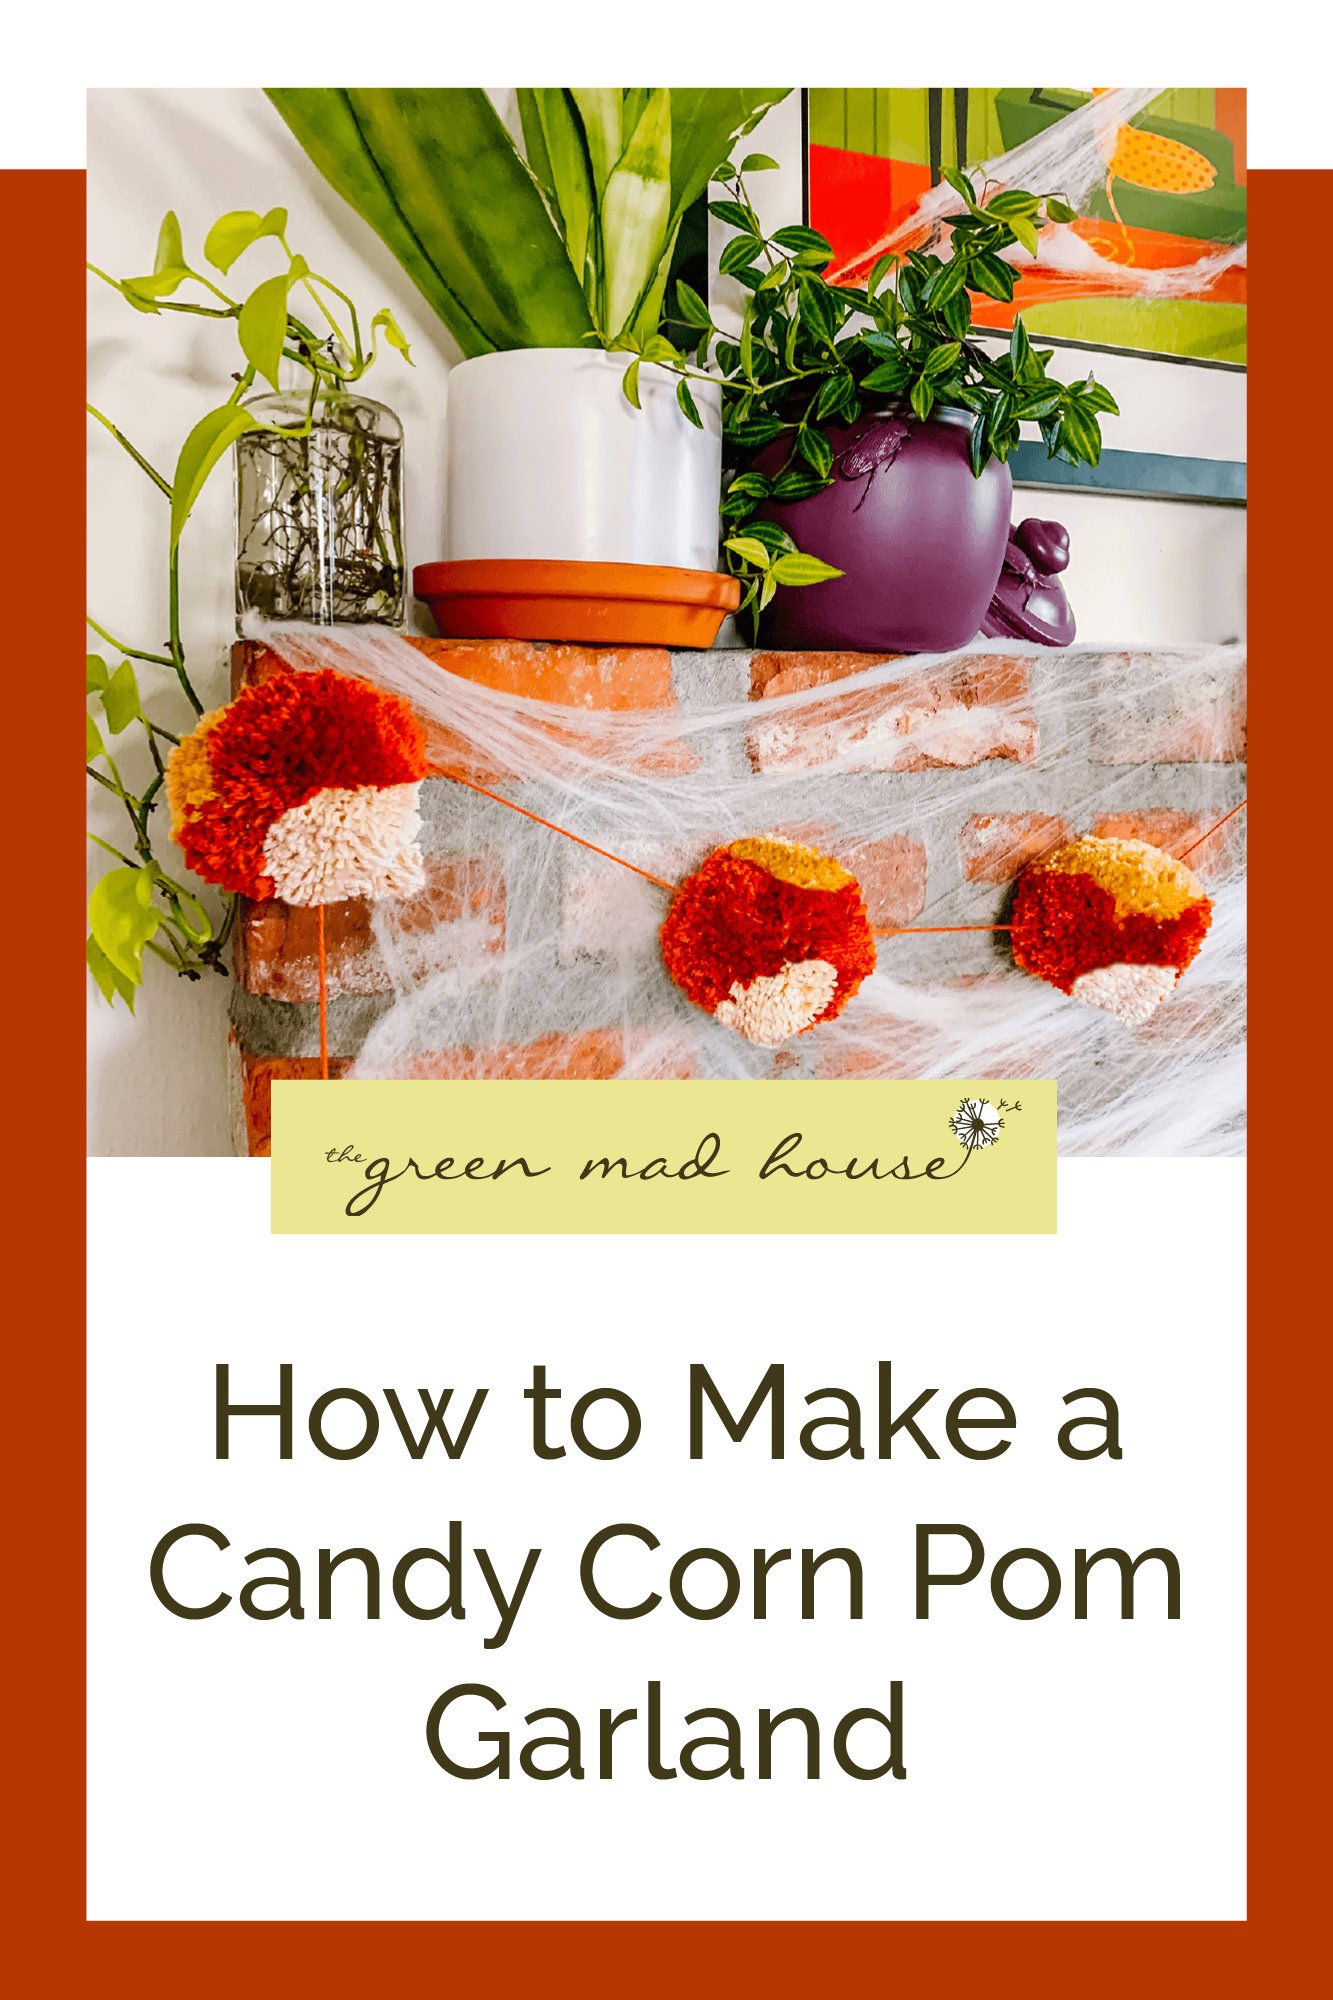
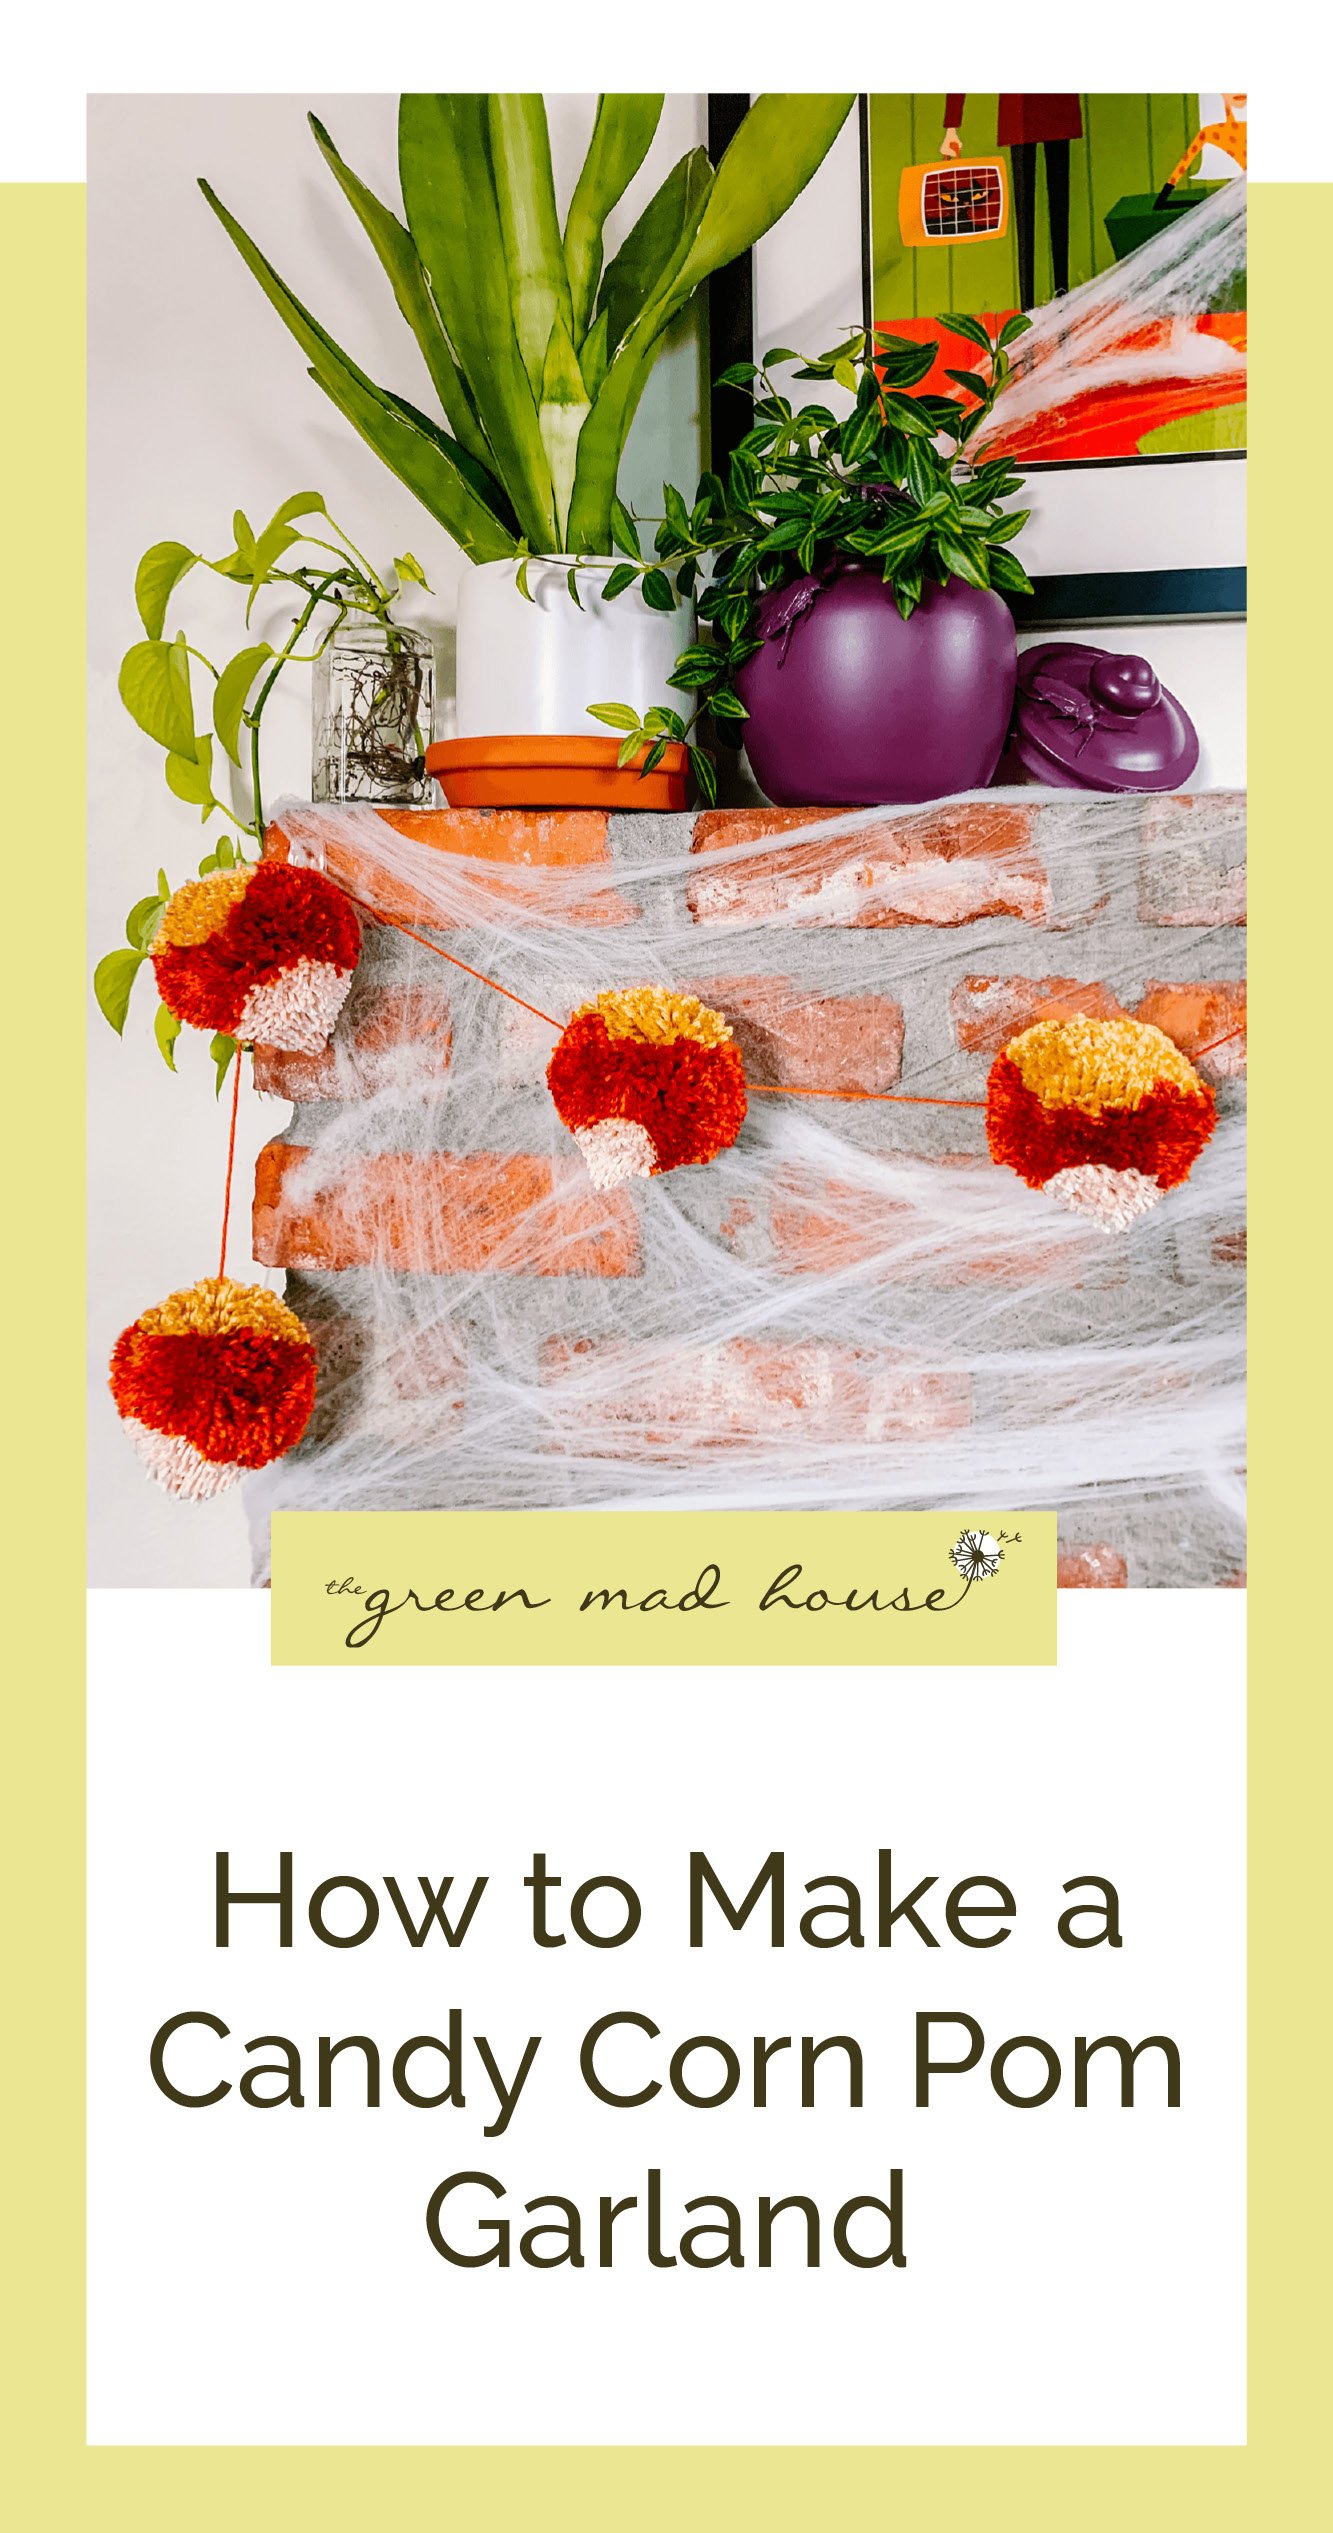
Halloween decor should be fun and spooky, bonus points if you can get creative and make it yourself. Last Halloween I made a Spider and Bat Pom Garland but this year, after a heated debate about whether Candy Corn is good (it isn't), I decided to make a form of it I can actually get behind, a yarn form. Making poms is quick, easy and cheap which makes it the perfect craft activity for kids or a cozy Fall day spent on the couch watching TV. I already had all these yarn colors and have a whole variety of sizes of pom makers so this DIY cost only my time.
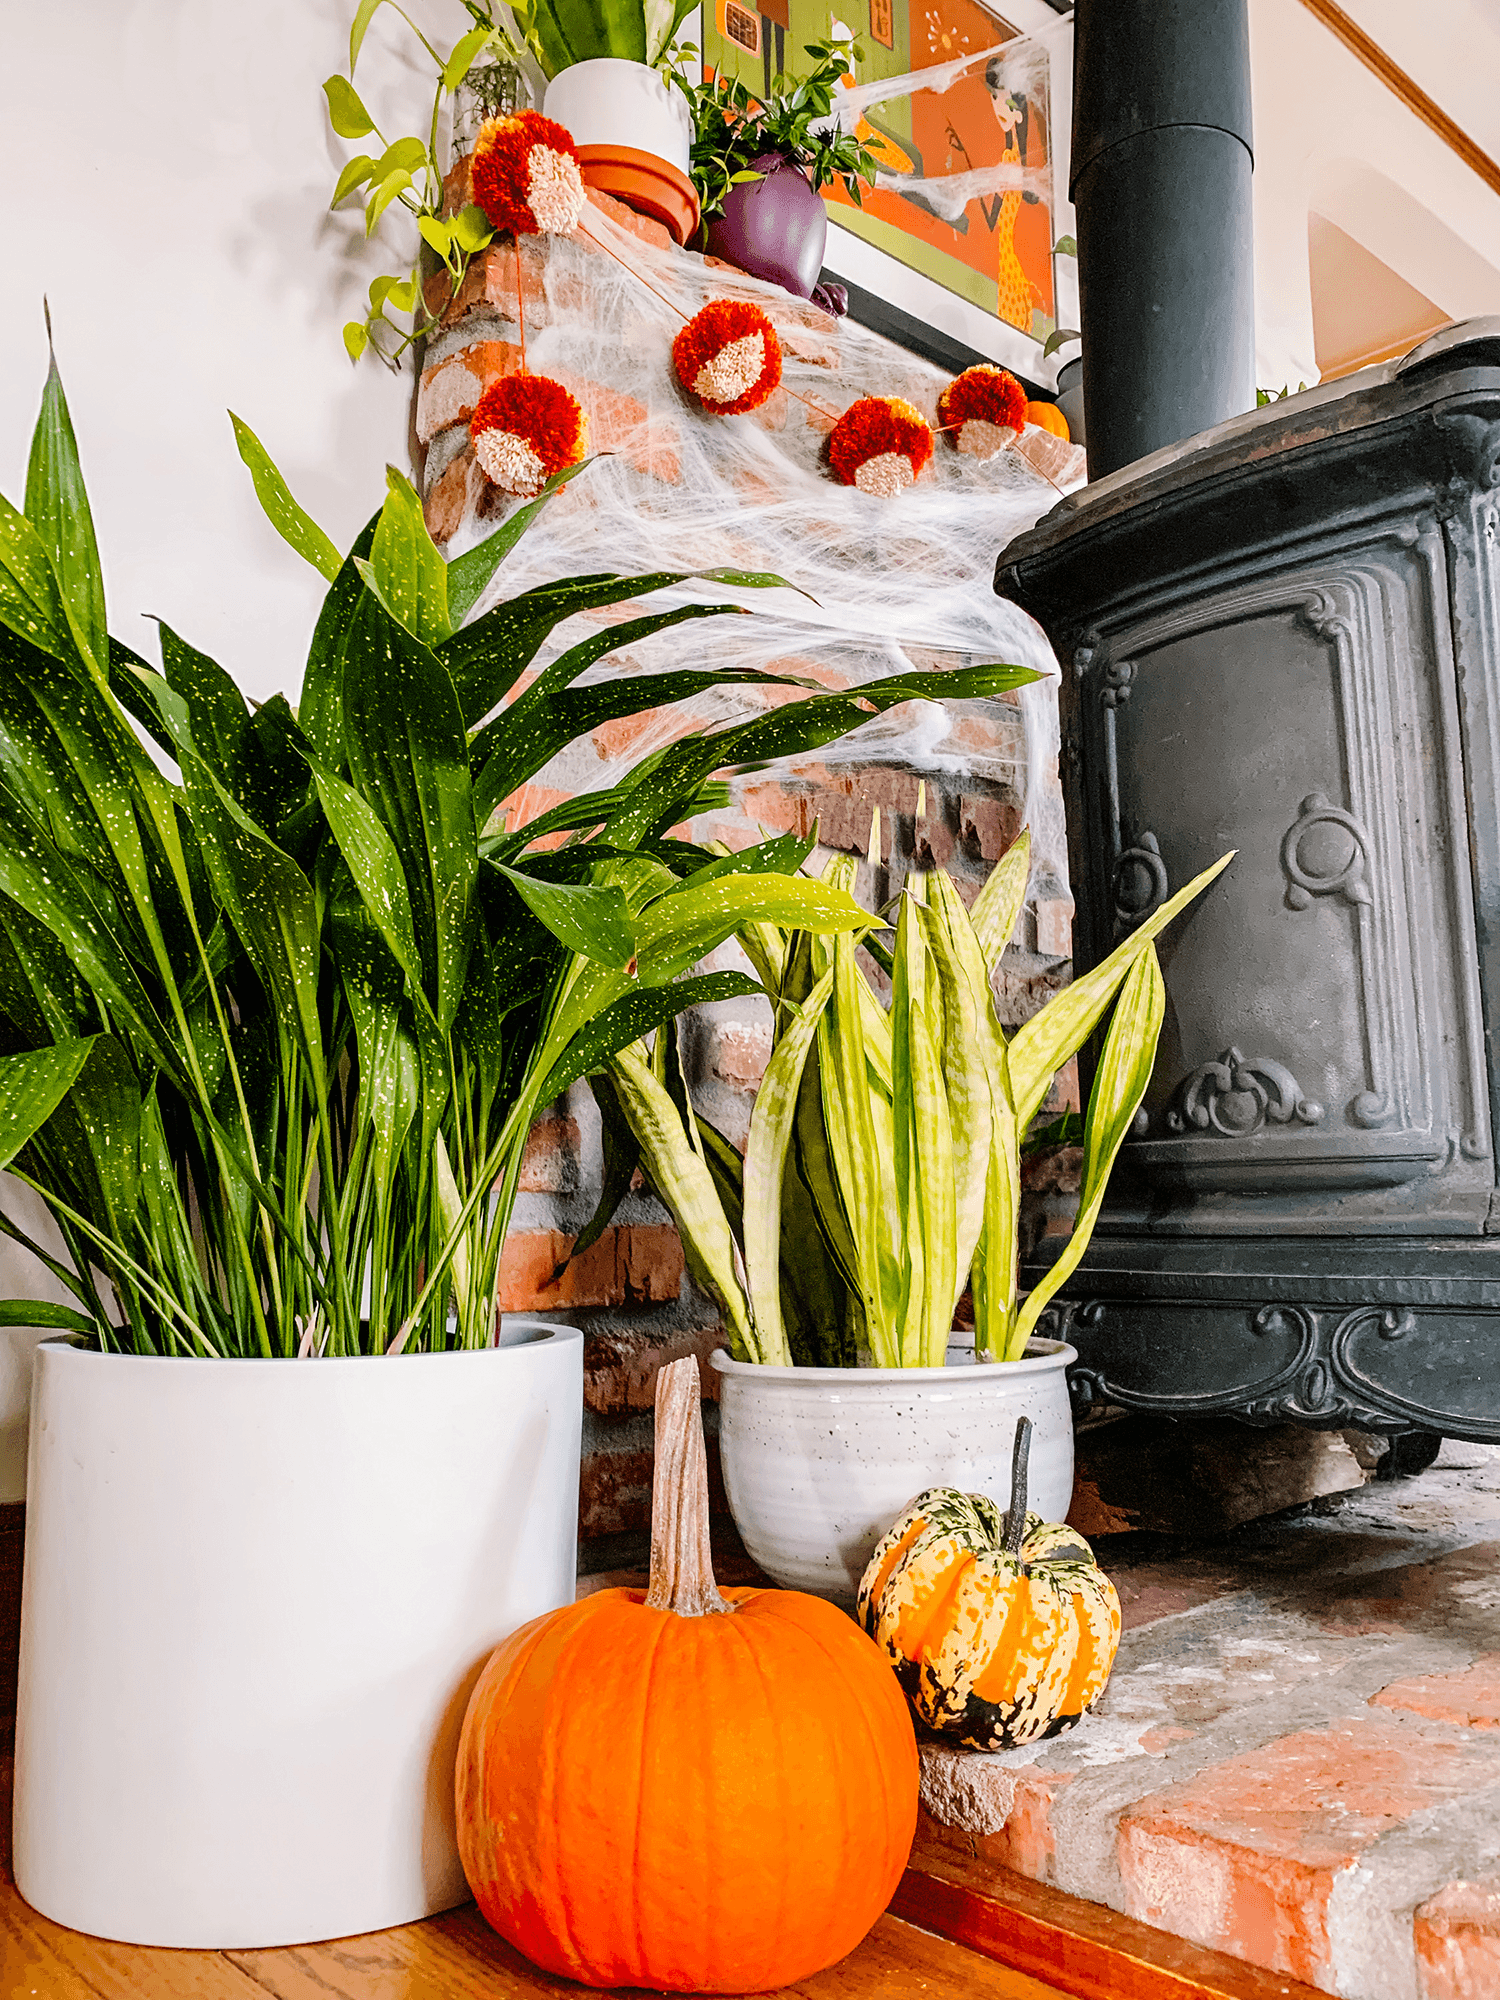
My mother is addicted to Candy Corn so I will be sending this one off to her to be strung across our mantle. Don't have a fireplace? String your garland across a door frame, on a curtain rod, draped on a headboard, down a railing, or just hang it on your wall. My entire strand ended up having 9 total poms, a length of 7', and really added some texture to the brick behind my wood-burning stove.
I have a collection of Halloween DIYs if you are feeling creative and want to keep going!
Tips & Tricks
- I used a 4" pom maker but once it gets trimmed down it is a little over 3" wide.
- When trimming the pom it is best to start light. Get all your poms made and then you can even out their shapes. Once you cut away too much you can't add back!
- When laying out all your poms to connect them I suggest using a tape measure stretched out and locked. I wanted it to be 7' long so I stretched my tape measure out in the living room to about 8' and set each pom down the line: one at 0, one at 9", one at 18" etc. This allows for even spacing when you start to attach them together.


Supplies

Assemble Pom Maker
I used the 4” size. Align both sides of your pom maker so that they are a reflection of each other.

Wrap Yarn
Holding the maker and the end of your yarn in one hand, wind the yarn around one pair of arms.
When one side becomes bulky, cross over to the other side. You will know when to stop when you can barely close the arms together.

Close the Pom Maker
Close both sides together and lock the latches.

Cut Pom
Cut open the pom along the crack between each side of the maker.

Tie Off Pom
Cut approximately 6” of yarn and wrap around the center opening. Tie a knot, pulling it tight so the yarn slides between the makers. Knot again to secure.

Trim Pom
Release the arms and remove. Trim the edges so it becomes a candy corn shape.
Repeat!
I made 9 total poms. I wanted a 72” long garland with a pom at the beginning and end and the rest spaced 9” apart. There are 2 ways you can attach the poms to the yarn:
Version 1 uses knots and no extra supplies, however it can be difficult to tie them all at even spaces apart.
Version 2 uses a needle and some hot glue. This allows you to be exact about where you put the yarn through and is easy to insure even spacing.

Version 1
Take your main yarn piece and tie a knot around the middle of a pom a couple times. Repeat down the line every 9” and trim off when you get to the last one.

Version 2
Use a large eye needle and thread your main yarn piece. Then stick it through the middle of each pom until they are all strung up. I set it next to the ruler and moved them to their desired length.

Glue Pom
When all your poms are at their desired position, use your hot glue gun to put a dollop of glue on each side deep within the pom.
These Candy Corn poms are cute and unlike their food form, will be loved by all. Now wthat we have a finished string of garland all we need to do is hang it! I used tiny command strips at the ends and middle of the brick and draped the string across it. The poms are so large they cover the command strips perfectly so you can’t tell how they are hanging. At this point I have 2 Halloween poms, a Valentine's pom, an anytime-of-year pom and will be doing some Christmas poms. Mildly out of control. Let me know how yours turns out or by tagging me on instagram @thegreenmadhouse.

