How to Make a Pom Garland
As an Amazon Associate I earn from qualifying purchases.

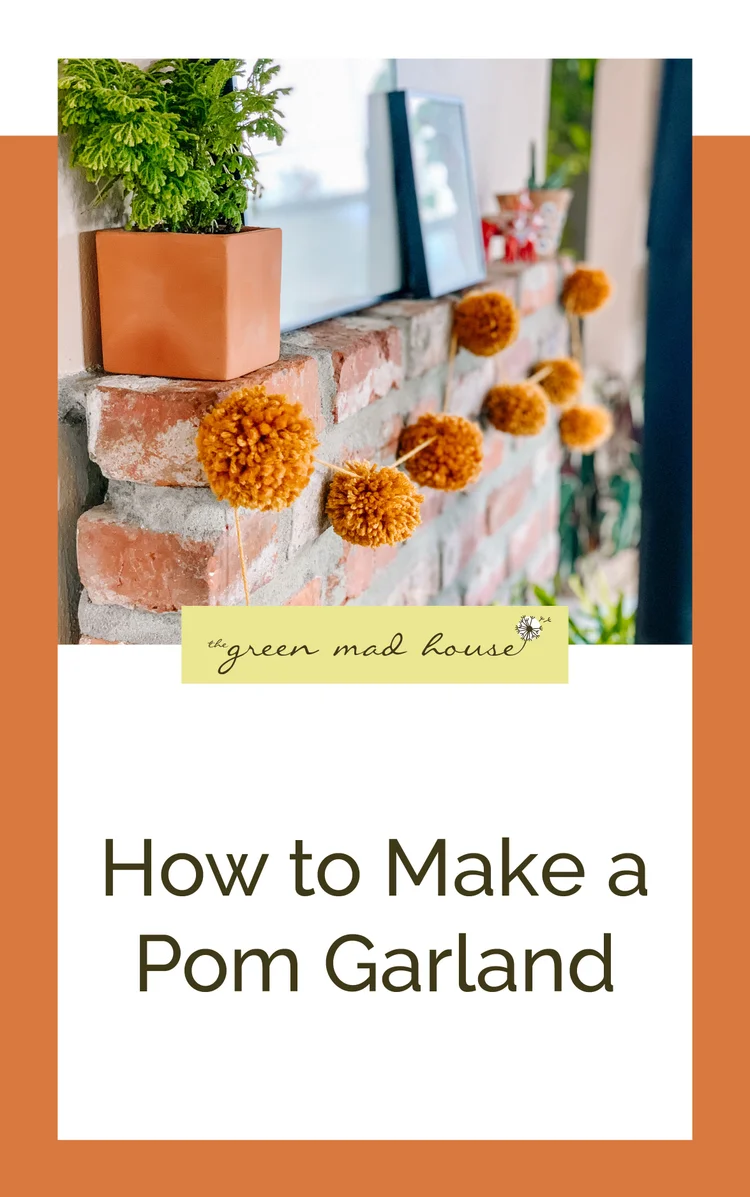
My first tutorial out of the endless pom paradise is to make a string of garland that I can hang on the brick area behind my wood burning stove. The moment I learned how to make a yarn pom the possibilities became endless. You can literally put a pom on anything, I mean, who doesn’t love soft little balls of yarn?
The pom garland can be used on your mantel, strung across art, on a curtain rod, heck, even on your Christmas tree. It is super easy and perfect for a rainy day watching TV on the couch. I already had all the supplies so this DIY cost me zero dollars which makes it even better. I made nine poms total and each pom only takes a couple minutes. My entire strand ended up being a little over 6 feet long and really added some texture to the brick behind my stove.
I used three different yarns, all shades of mustard yellow, and all different thicknesses. While wrapping each pom maker I varied between them. Some poms had two of the yarns, some had all three. This gave each pom some dimension with color and texture.
Really, the only hindrance with this DIY is cats. My cat, Floyd, watched while I wrapped the yarn from a few feet away with wide eyes and occasionally would swipe out with a paw, snag it, and run away with it in his mouth like it is prey he caught. The garland has been hanging for awhile now and they seem to have not noticed it. I am waiting for the day I come home and the cats have ripped it from the wall.


Supplies
Pom Makers - I used the 3” size.

Assemble Pom Maker
Align both sides of your pom maker so that they are a reflection of each other.

Wrap Yarn
Holding the maker and the end of your yarn in one hand, wind the yarn around one pair of arms.

Wrap Yarn
When one side becomes bulky, cross over to the other side. You will know when to stop when you can barely close the arms together.
(for varied poms, alternate which yarn you are wrapping)

Close the Pom Maker
Close both sides together and lock the latches. Cut the strand of yarn that is still attached.

Cut Yarn
Cut along the edges of the circle.

Tie Off Pom
Cut a length of yarn, approximately 6” and wrap around the center opening.

Tie Off Pom
Tie a knot, wrapping the yarn around twice before pulling knot closed as tightly as you can without breaking the yarn. Knot again to secure. The knots should slip down between the pieces of the maker.

Trim Pom
Release the arms and remove. Trim the edges so it is an even shape. Wa-lah!

Repeat
Repeat until you have a pile of poms. I made 9 total.


Connect Poms
I needed my garland to stretch approximately 72” so I cut a piece a little longer as I have to knot around each pom. Using the piece of yarn, loop it around each pom, tying a knot twice to secure it. I spaced my poms 6” apart.
Alright now we have a finished string of garland so we have to hang it! I used tiny command strips at the ends and middle of the brick and draped the string across it. The poms are so large they cover the command strips perfectly so you can’t tell how they are hanging. I have to say I am really happy with how it turned out and it didn't take any time.
What do you think my next DIY in the pom paradise should be? I have plans for pom magnets and a pom rug already planned. I think when Christmas rolls around I am going to make a really long, miniature version to wrap around my tree. The cats already demolish that as is so it can’t hurt! I hope you all have fun making this. Let me know in the comments how yours turns out.